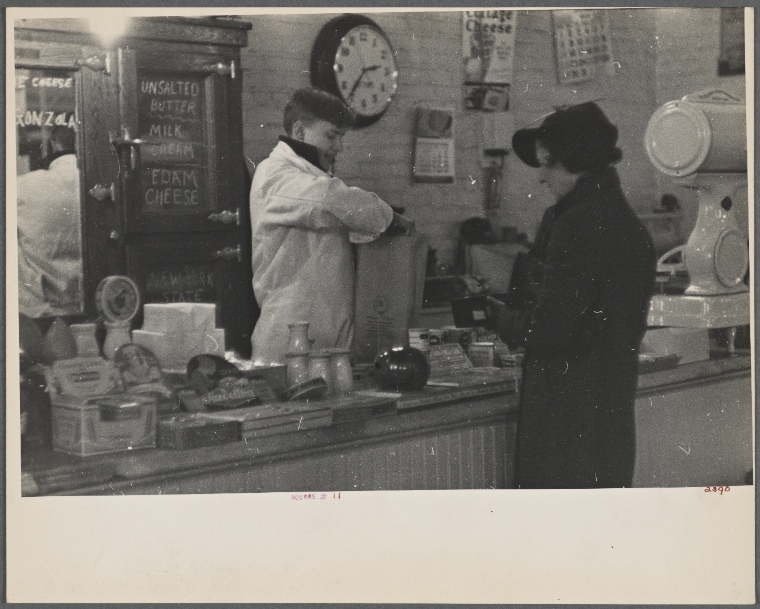
 Interior of a grocery store, 1936. Source: The New York Public Library.
We’ve got one more guest post this week from Carly Robins, an actress, writer, producer, and voice over artist. She is also a lover of food and creator of  Grocery Tales (coming soon to a TV near you).
I love grocery shopping! There. I said it! What most people think of as a chore, I relish. Even when I travel, I love to stop at the local grocery store because I find it is the only way to truly feel and understand the local culture.

Dutch Grocery on Broad St., 1859. NYPL.
Many years ago when my husband and I were in Laos we had the most amazing crème brulee with this sugared topping that I had never tasted before. I couldn’t stop dreaming about it all night and the following day, through lots of hand gestures and pointing to the menu, the waiter came back with a package, written in Thai, and gave us directions to the local grocery store. I discovered it was coconut palm sugar, and I was mesmerized by it. This experience confirmed not only my obsession with grocery stores, but where our food comes from, what foods we are exposed to, and how the grocery store experience has evolved.
In 1859, George Huntington Hartford and George Gilman founded The Great American Tea Company, which later became Great Atlantic & Pacific Tea Company or A&P. It was a storefront on Vesey Street in New York City that also had a mail order business. In the beginning, they sold mostly coffee, tea, spices and other dry goods. However, by the 1880s, they were operating a hundred stores across the USA,becoming the first grocery store chain. They stocked their shelves with the help of their own invention, the first refrigerated rail cars.
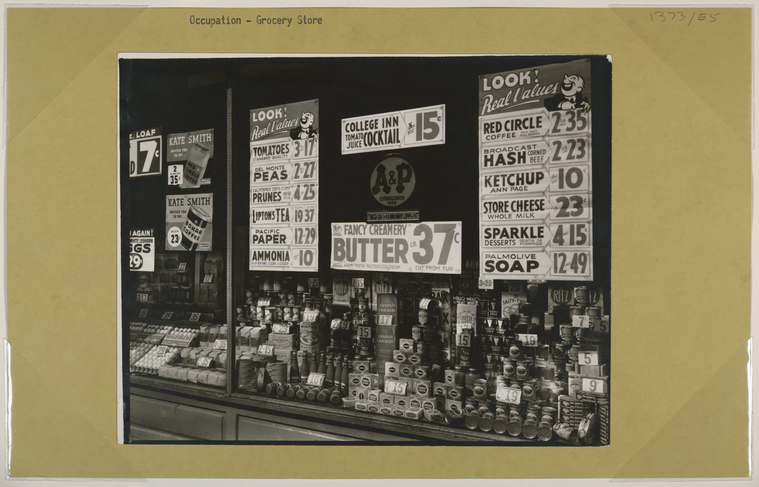 A&P, 1936. Source: New York Public Library.
The next big advancement came when Clarence Saunders invented the first ever “self-service” grocery store in 1916, and called it The Piggly Wiggly.  Saunders noticed how much time and money was wasted by having clerks wait on each customer individually, fill orders, and often deliver groceries to the customer’s home. The Piggly Wiggly allowed customers to self-select the items they would like to purchase and then, in what was also a new innovation, have a cashier ring them up. These items were individually price-marked and displayed into categories, birthing the need for branding and packaging to grab the attention of the shopper.

These stores were hugely successful and franchises were sold nationwide to hundreds of grocery retailers. In the 1920’s and 1930’s, an explosion of family chain stores like Ralph’s, Safeway, and Kroger opened, mimicking the Piggly Wiggly model. There were all kinds of buying and selling and merging of stores, along with anti-trust problems and other legal battles, that made for a little bit of chaos, but there were also opportunities for great wealth. Within this explosion, stores started including different sections such as dairy, meat, and produce, offering their patrons the convenience of going to one store for all their shopping needs. A juicy little tidbit: Saunders, the Piggly Wiggly founder, eventually ran into some financial trouble trying to manipulate stock prices and lost control of his company. Is that an American story or what?
The next innovation came from a former employee of a Kroger Grocery Store: Michael Cullen opened his first King Kullen Grocery in Queens, August of 1930. His business model focused on high volume at low profit margins. It was a smashing success; specialty groceries couldn’t compete with massive stores, large volume, and low low pricing. And according to the Smithsonian Institute, King Kullen is considered America’s first ‘supermarket’.
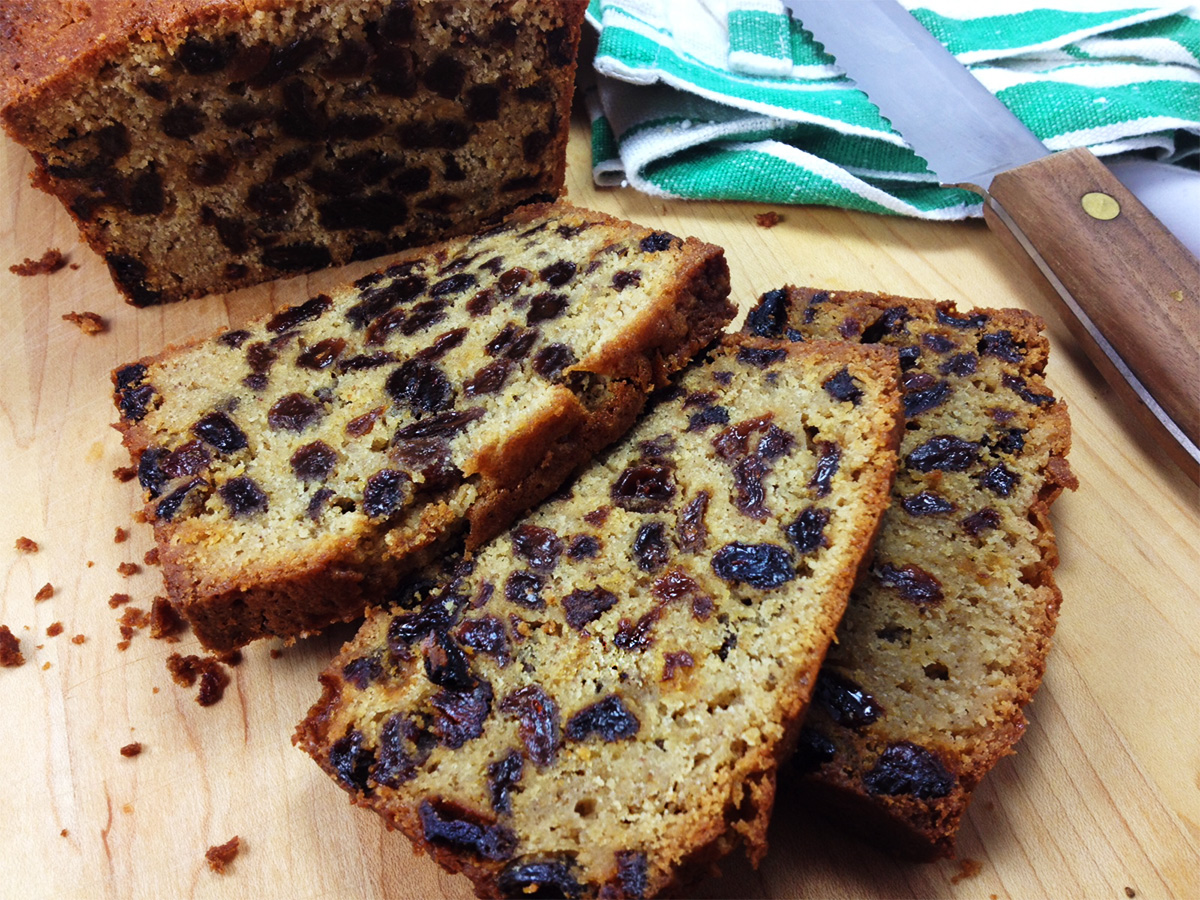
Living in New York City affords me the luxury of many grocery stores, whether specialty or otherwise. Just like on that trip to Laos, my eyes are now open to the global possibilities that ingredients provide and how we can incorporate those ingredients into our daily lives. It’s all about the ingredients and where to find them! Speaking of, I have a fantastic Gluten Free Banana Bread that is moist and delicious. I am able to buy most of the ingredients at one of my favorite specialty stores, Sahadi’s Importing Company. It’s a Middle Eastern grocery store founded in 1898 in Manhattan until it got displaced because of construction for the Brooklyn Battery Tunnel. Sahadi’s is now located on Atlantic Avenue in Brooklyn Heights and is known for their bulk section options, including various alternative flours.
Gluten Free Banana Bread
½ Cup Dark Chocolate Chips
2 Eggs
2 ripe Bananas, mashed
1/2 cup Coconut Nectar
1/2 Stick or Less of Butter
1 tsp. Real Vanilla Extract
3/4 cup Brown Rice Flour
1/4 cup Coconut Flour
1/4 cup Almond Flour
1 tsp. Baking Soda
1/3 cup Melted Coconut Oil
- Preheat oven to 350. Line a bread loaf pan with parchment paper over sides to easily lift and add the chocolate chips to the bottom of the pan. (You can always incorporate the chocolate chips into the batter after all ingredients have been combined BUT…chocolate chips that have been melted and baked at the bottom of the pan are a delight to behold. I learned this trick because apparently my mother in-law, who had a lot of tasty cooking accidents, did this in error while cooking a bundt cake and my husband swears it was the best thing he has ever eaten. It also allows you to use less chocolate if you want since it is concentrated in one area only. You can use this method on any sweet bread.)
- In a mixing bowl, beat eggs lightly. Add mashed bananas, butter, nectar and vanilla and mix thoroughly.
- Add melted coconut oil, then add Rice flour, Coconut flour, Almond Flour, baking soda. Mix until all ingredients are moist.
- Pour batter into loaf pan. Bake for 45 – 55 minutes or until bread is no longer wet in the middle.
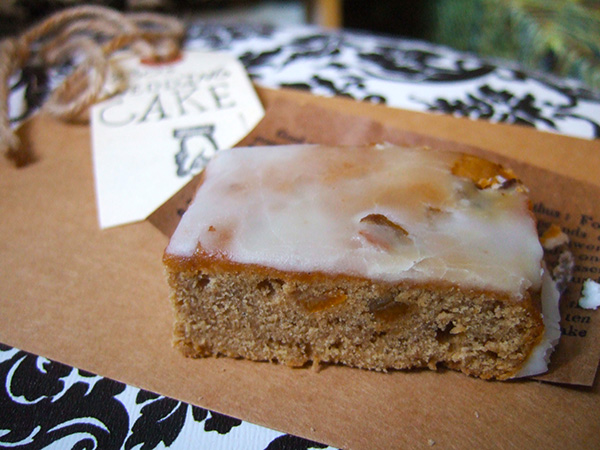
 Buch de Noel from a tree trunk cake mold.