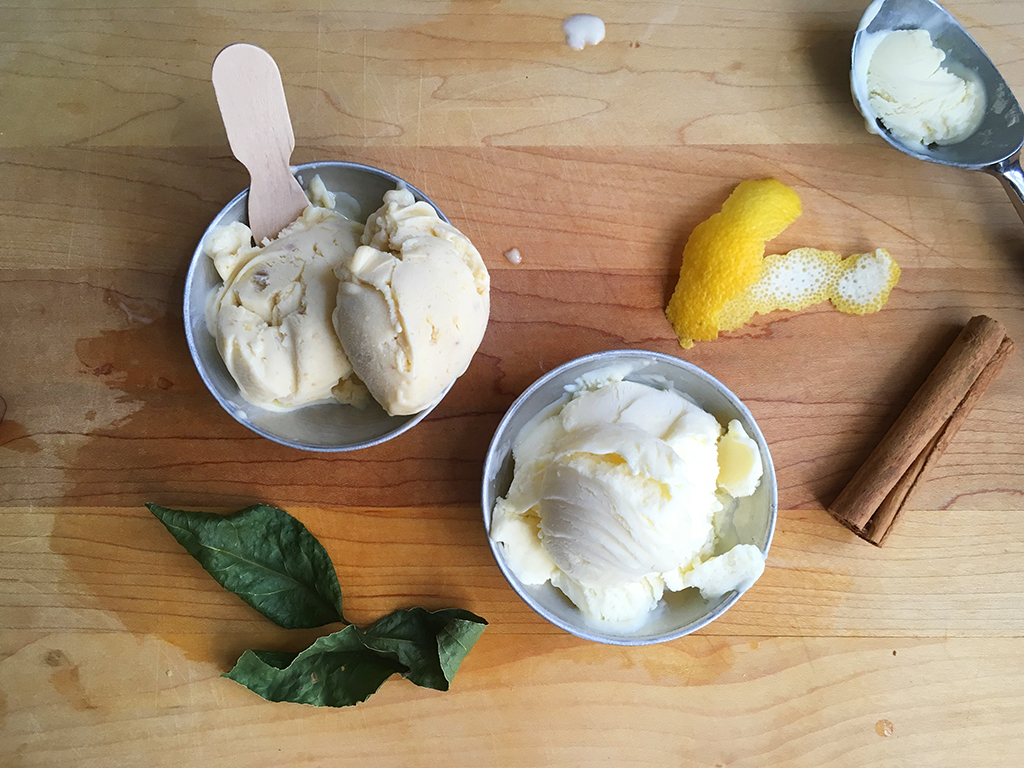
 Left: pumpernickel. Right: Cinnamon/bay leaf/lemon.
Here in New York City it has been HOT. But here’s my solution: I made two fascinating flavors of historic ice cream. Brown Bread ice cream, infused with actual pumpernickel bread, and a cinnamon-bay leaf-lemon ice cream made with fresh bay leaves.
The History
The spark of inspiration to make both these recipes came from my favorite book on ice cream history, Of Sugar and Snow: A History of Ice Cream Making. The author, Jeri Quinzio, explained the rye bread ice cream appeared in the first book completely dedicated to ice cream making, written by a “Monsieur Emy” in France in 1768.  Rye bread crumbs are infused in the cream, but are strained out before freezing. A popular 19th century flavor, later recipes added toasted rye bread crumbs just before freezing for a bit of crunch, but Emy’s was a smooth ice cream.
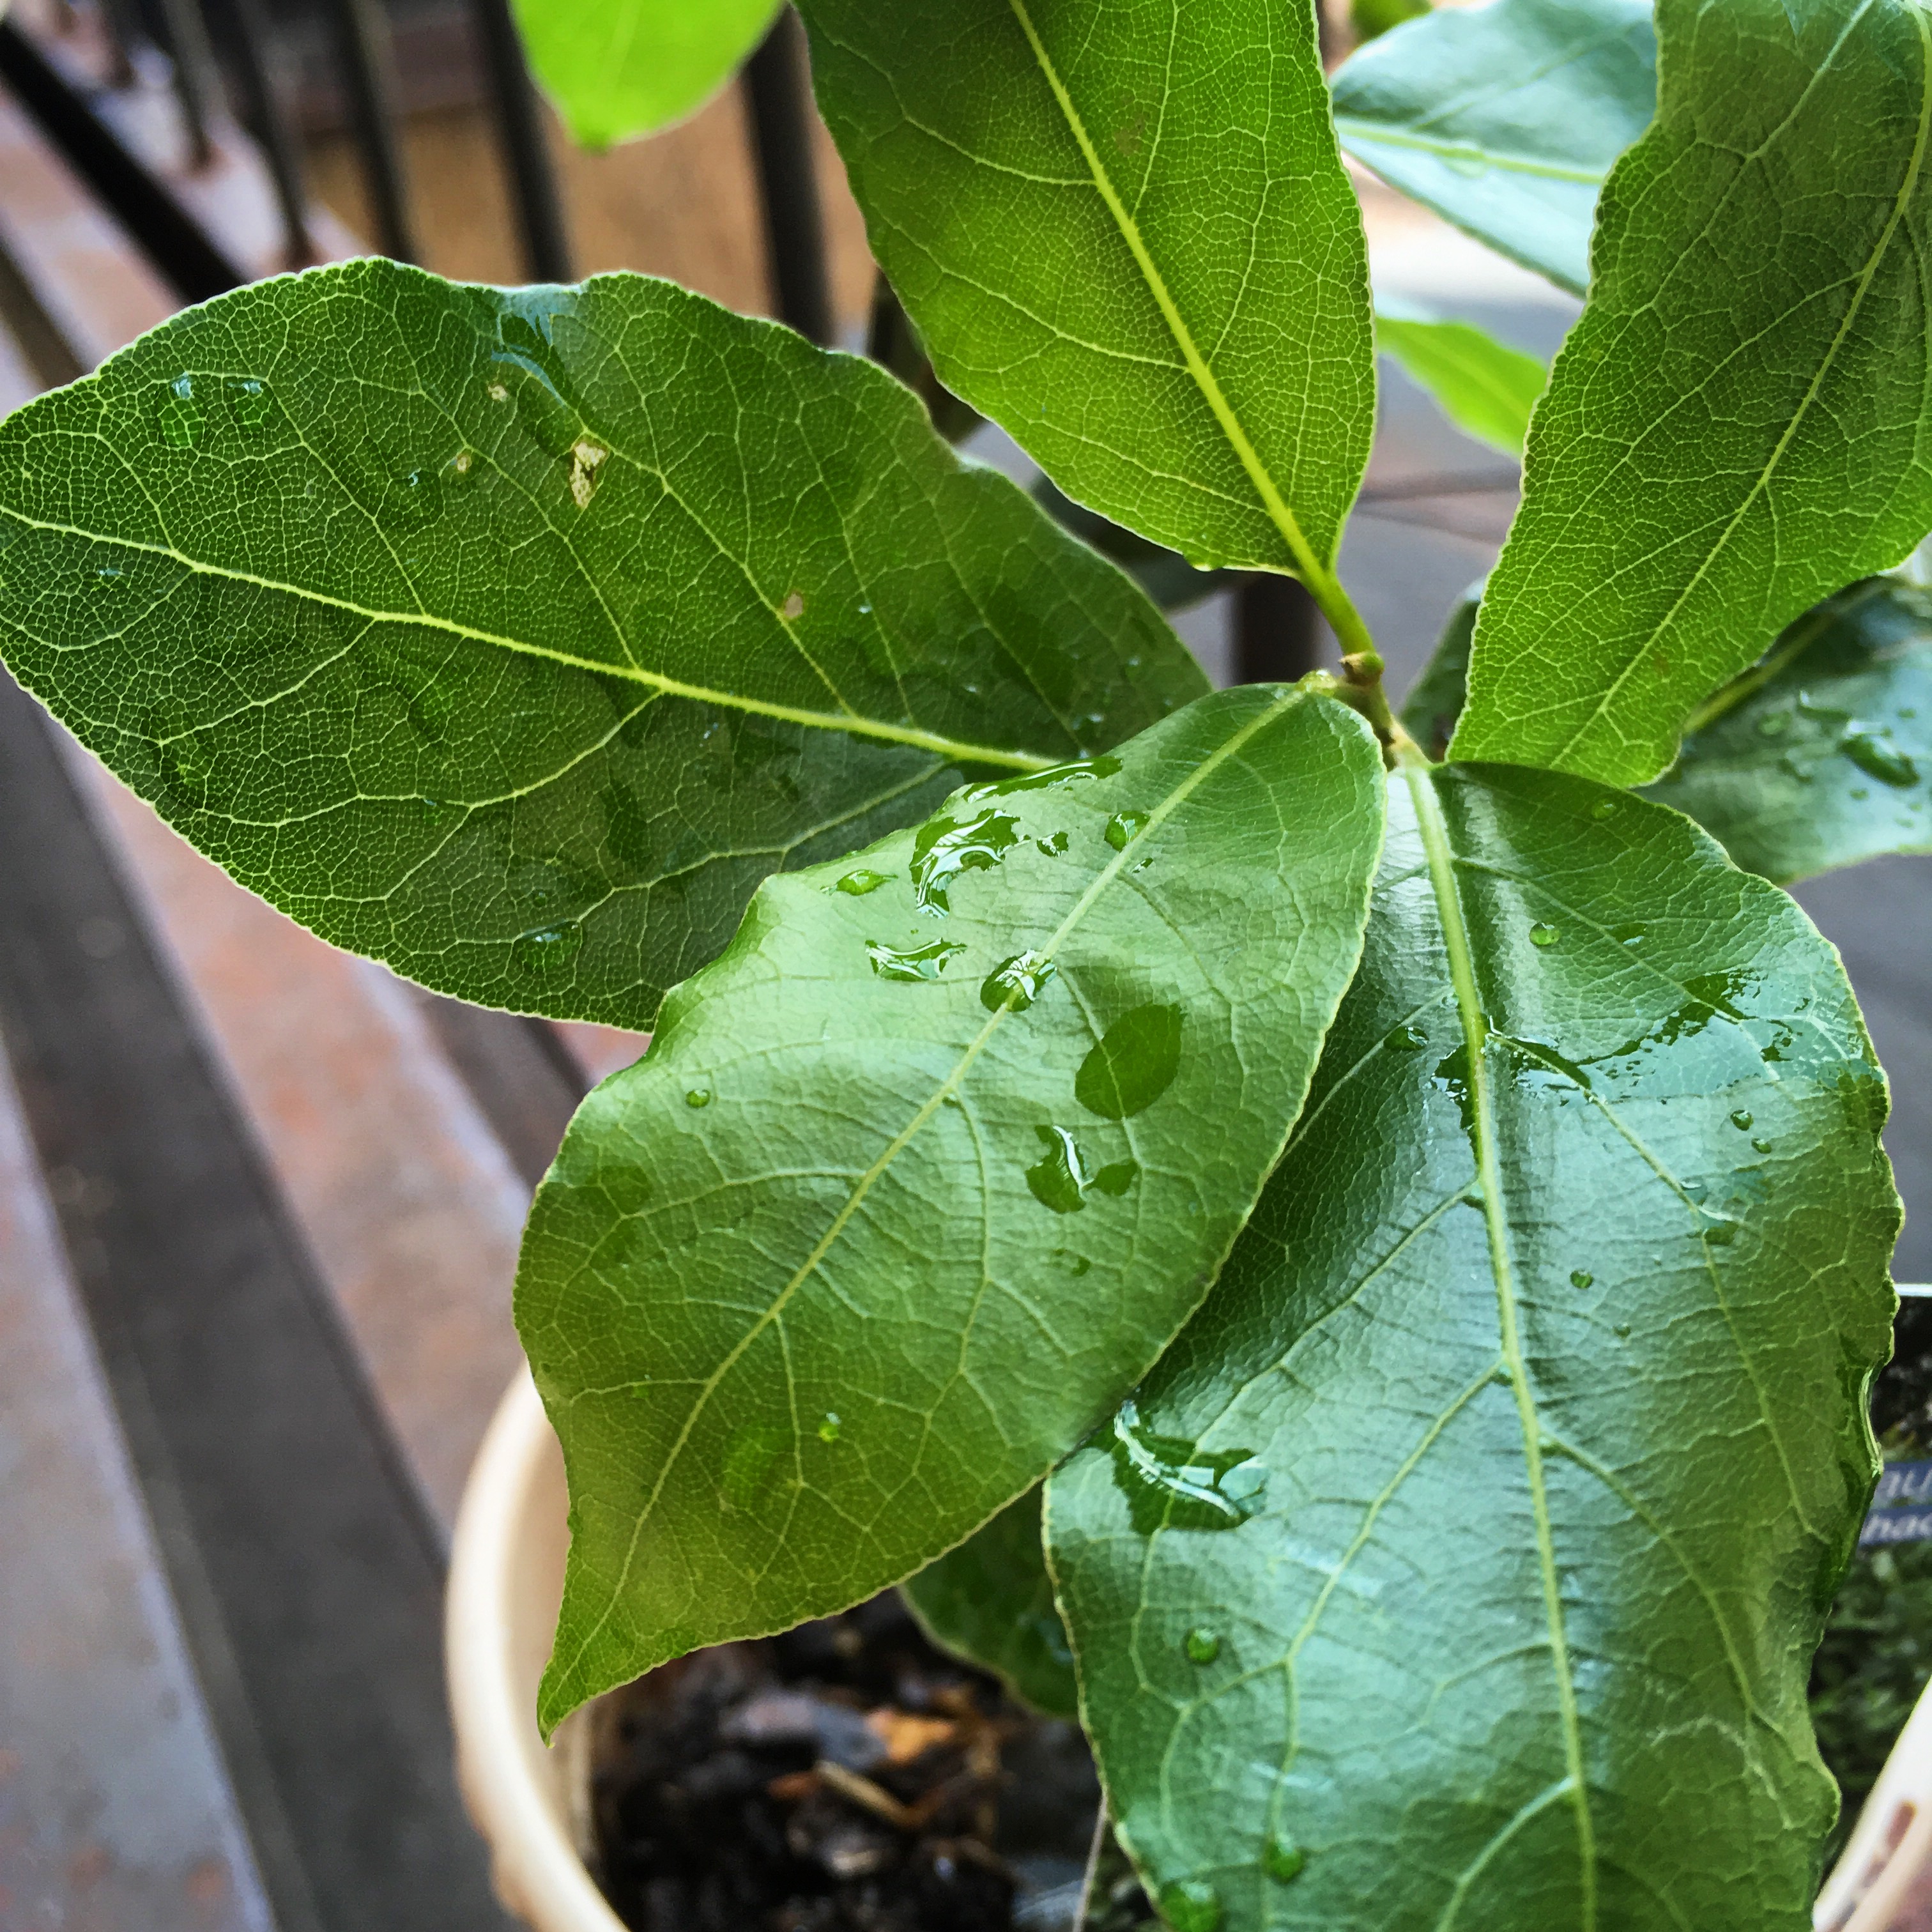
My bay leaf plant on my fire escape.
The second recipe I tried was called “Cinnamon Ice Cream (Creme de Cannelle),” from Agnes Marshall’s Book of Ices, published in 1885. Marshal was an ice cream genius, and I’ve written about her before. She was the first person to suggest using liquid nitrogen to freeze ice cream. Her recipes are genius, to the point of madness–like her savory Neapolitan made with tomatoes, artichokes, and peas.
Her cinnamon ice cream featured a stick of ceylon cinnamon, the zest of half a lemon, and a bay leaf. I had purchased a fresh bay leaf plant for just this recipe. A fresh bay leaf is dramatically different from dried: vegetal and aromatic, I wanted its special flavor for my crazy ice cream.
The Recipe
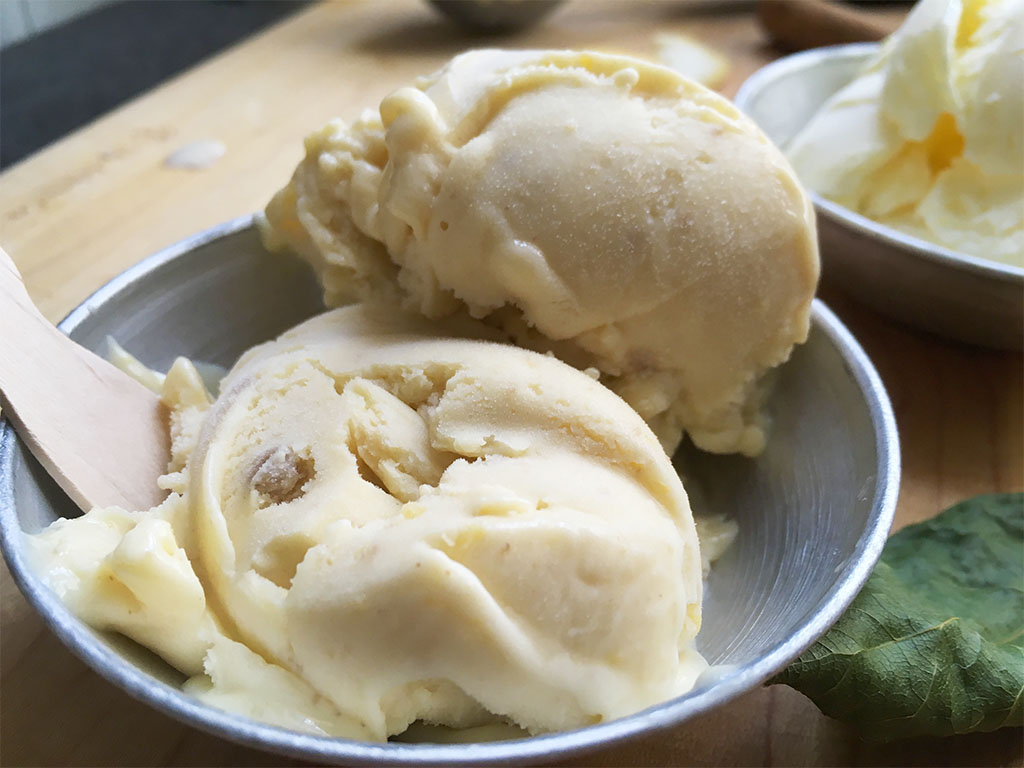 It’s pumpernickely!
For both of these recipes, I started with a basic custard ice cream:
Custard Ice Cream
- 2 cups heavy whipping cream
- 1 cup whole milk
- 1 vanilla bean (or, other flavoring of your choice)
- 6 large egg yolks
- 3/4 cup sugar
- 1/4 teaspoon coarse salt
- Additional mix-ins
Add split and scraped vanilla bean to cream and milk in a saucepan. Bring to a boil.  In the meantime, in a glass bowl whisk together egg yolks, sugar and salt until blended. After cream mixture comes to a boil, pour slowly on the egg mixture, whisking constantly. Return to saucepan and cook over low heat, stirring constantly with a wooden spoon, until custard thickens slightly and evenly coats back of spoon (it should hold a line drawn by your finger).  Pour custard through a fine-mesh sieve into a bowl set over ice, or place in refrigerator, until chilled–overnight is preferable. Churn in an ice-cream maker according to manufacturer’s instructions, adding mix-ins like nuts or fruits in the last few minutes of freezing. Transfer ice cream to a resealable plastic container and freeze until firm, about 2 hours.
For Pumpernickel Ice Cream: Toast 2 cups of pumpernickel bread until deep brown on the edges. Add to milk and cream and bring to a boil. Remove from heat, and allow to infuse for two minutes. Proceed as recipe directs.
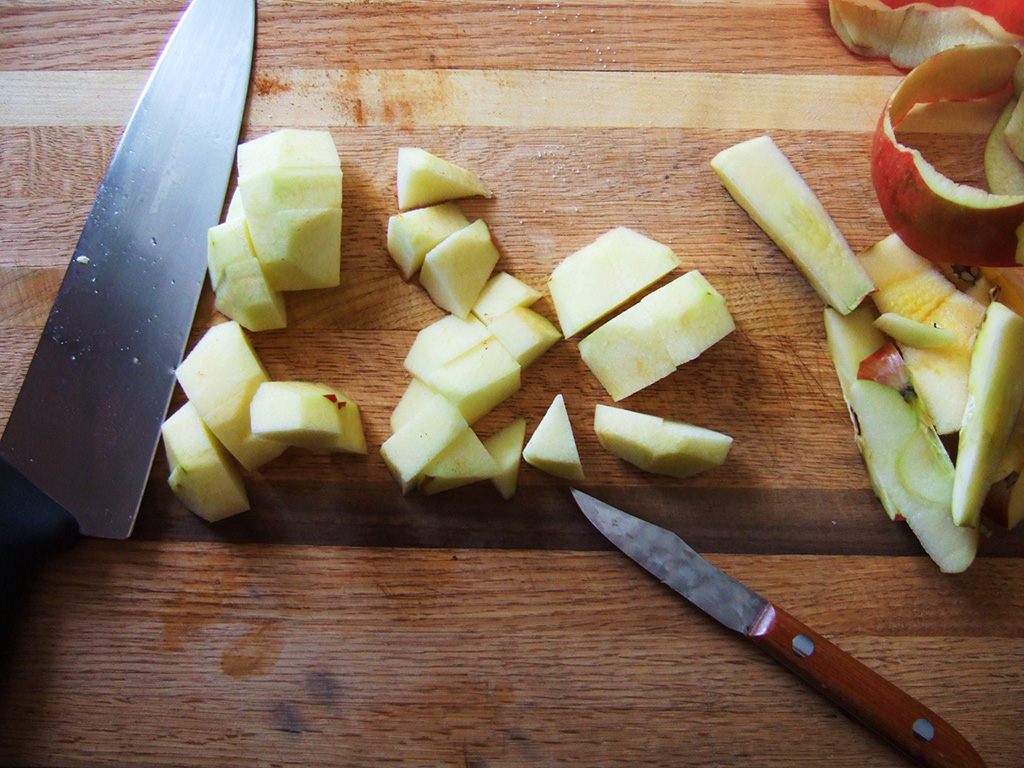
For Cinnamon Ice Cream: To milk and cream, add “a finger-length” of Ceylon cinnamn (about 4 inches), 1 bay leaf, and the peel of half a lemon. Cut the peel off the lemon with a pairing knife, taking care to avoid the white pith. Bring milk, cream, and spice to a boil; remove from heat and allow to infuse 2 minutes. Proceed with recipes as directed.
I also made this fun little video of all the steps to make these ice creams; enjoy and I hope it’s helpful!
The Results
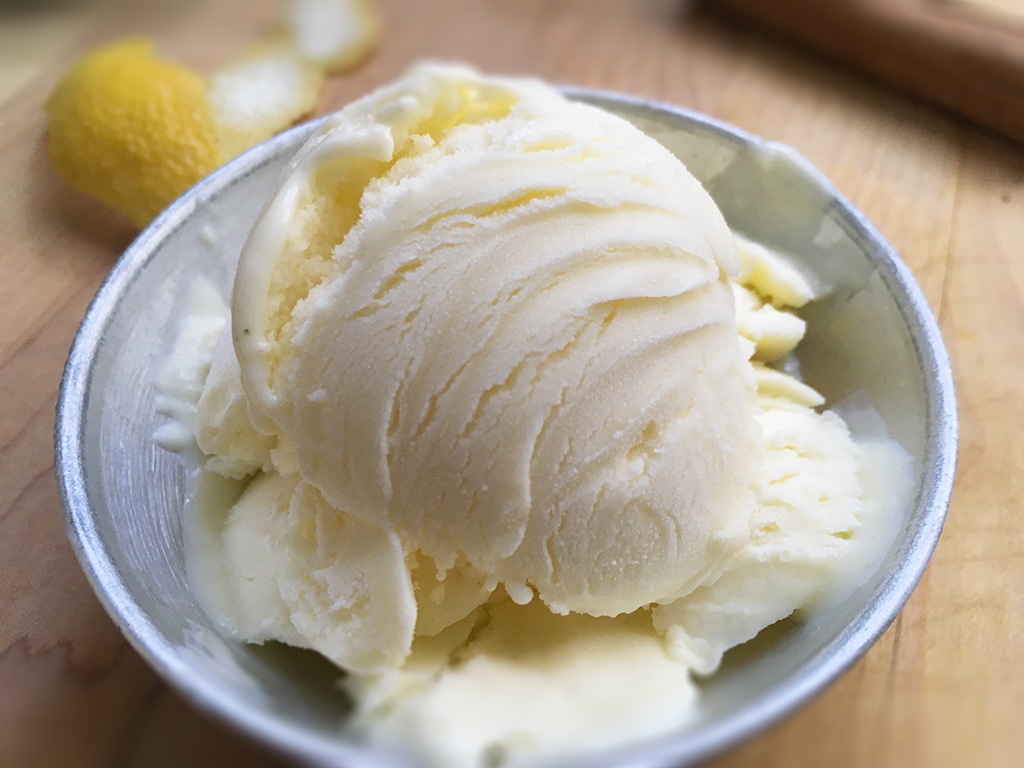 Cinnamon ice cream perfection.
The pumpernickel ice cream was genuinely repulsive. It has a mucus-like texture I noticed even before I froze it, some strange gooey quality infused from the bread. The flavor of the pumpernickel  gave the ice cream an assertive savory-sweet taste, as though I had made ice cream from an entire McDonald’s hamburger, ketchup, pickles and all.
But the cinnamon ice cream–oh! Interestingly, cinnamon is not the flavor I would have assigned to it. The flavor, delicate and complex, would be unidentifiable if you weren’t informed. There’s a greeness from the bay leaf, a gentle citus from the lemon zest, and a soft floral quality from the ceylon cinnamon. The combination goes perfectly with the texture of the custard. It’s a real winner, and the ice cream you should make to cool you down in the dog days of summer.

 We made a mess.
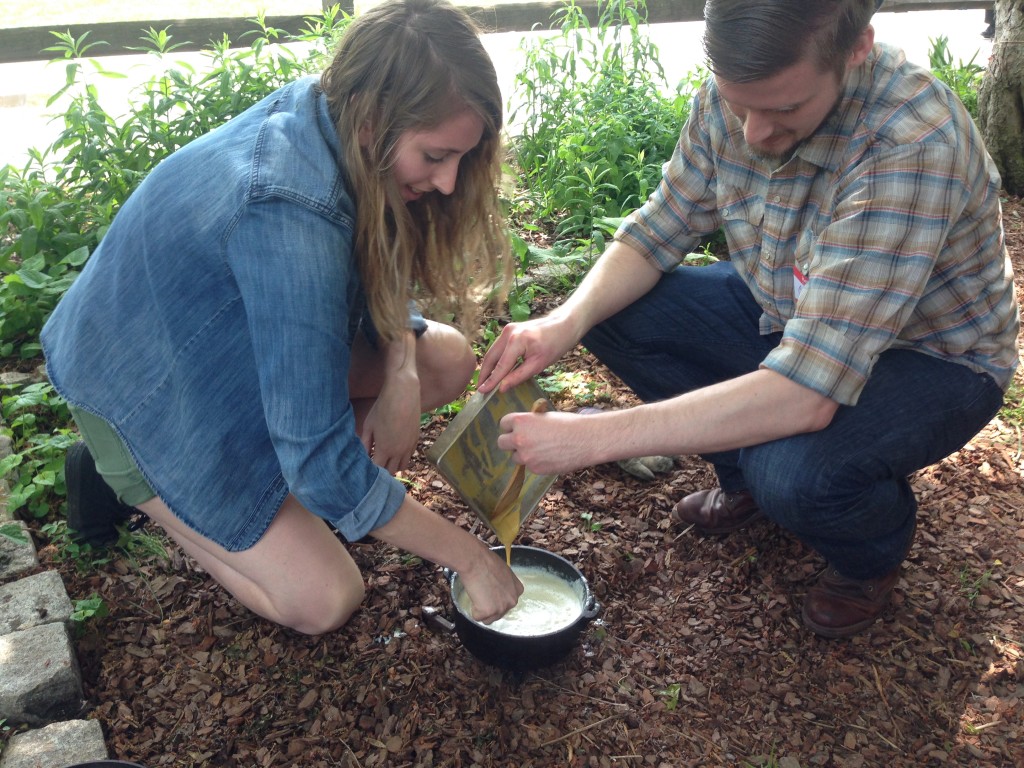 Students Julie McMahon and CJ Knowles make the custard.
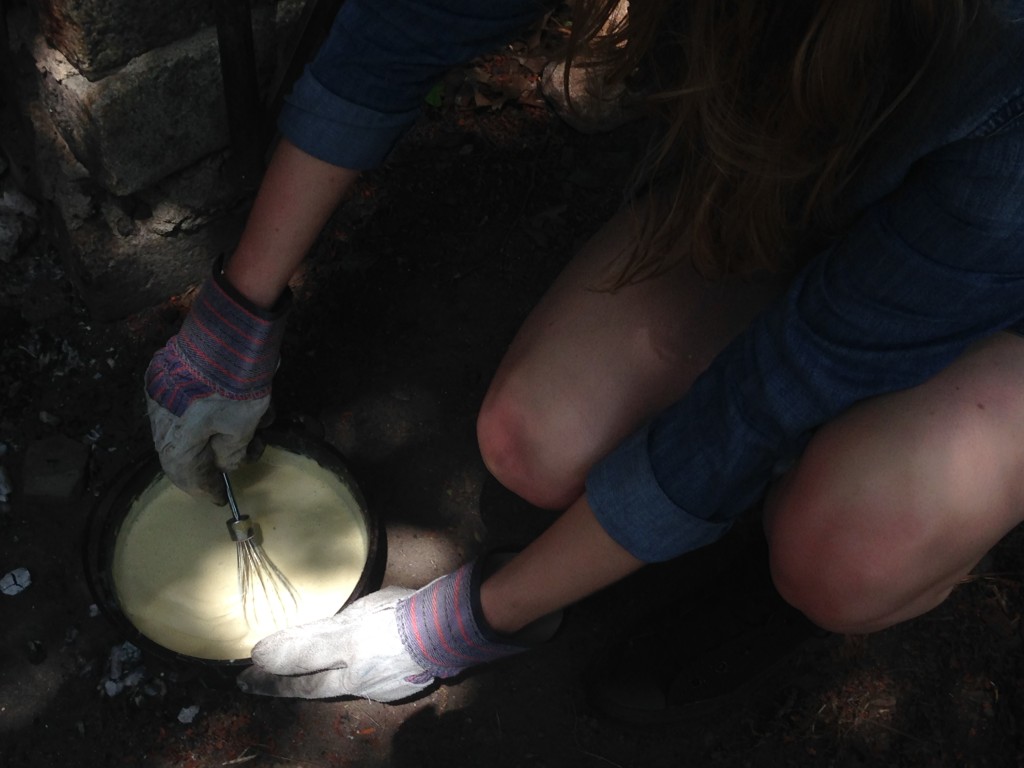 Thickening the custard.
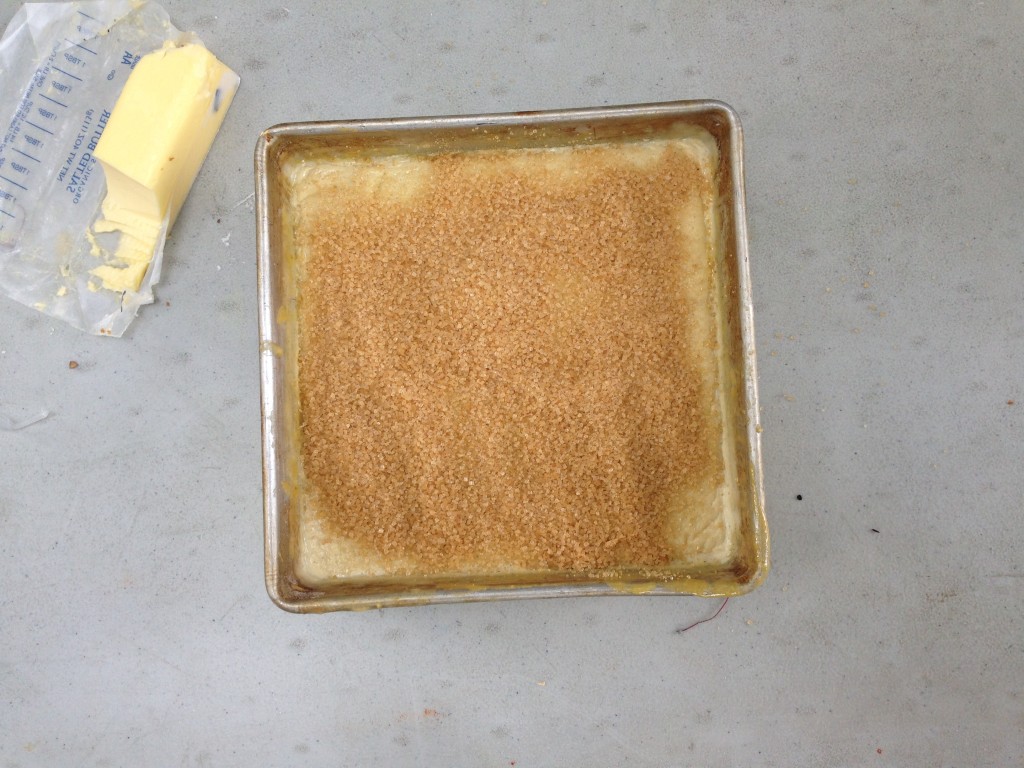 A cream about to get burnt.
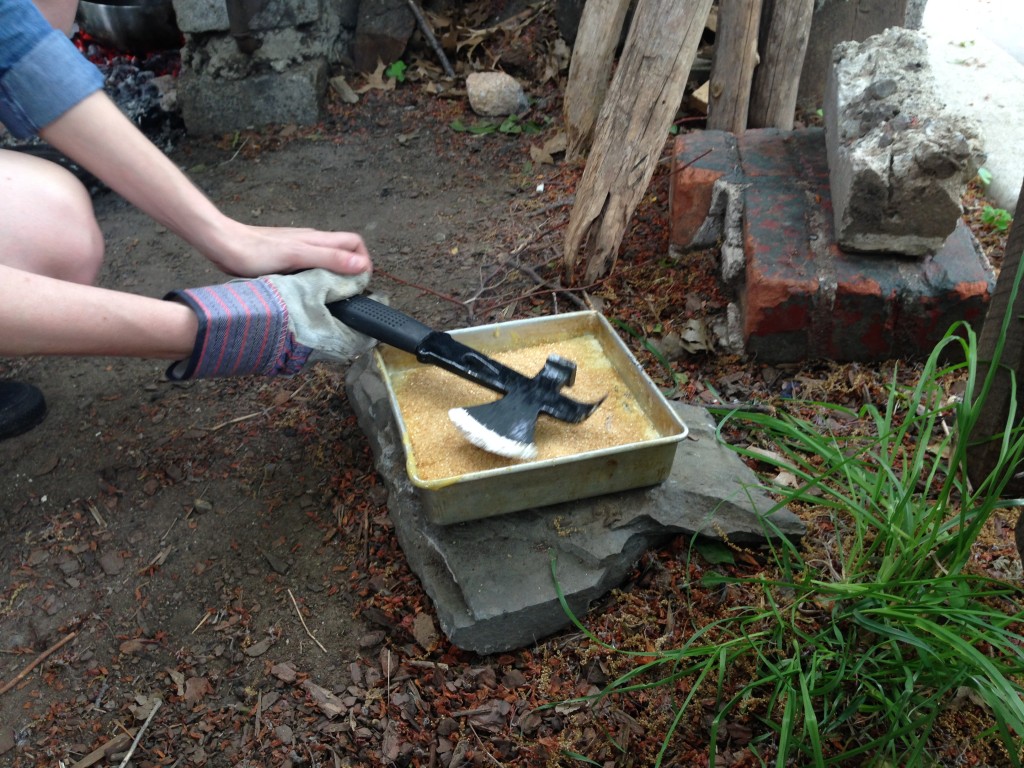 Creative, but not working.
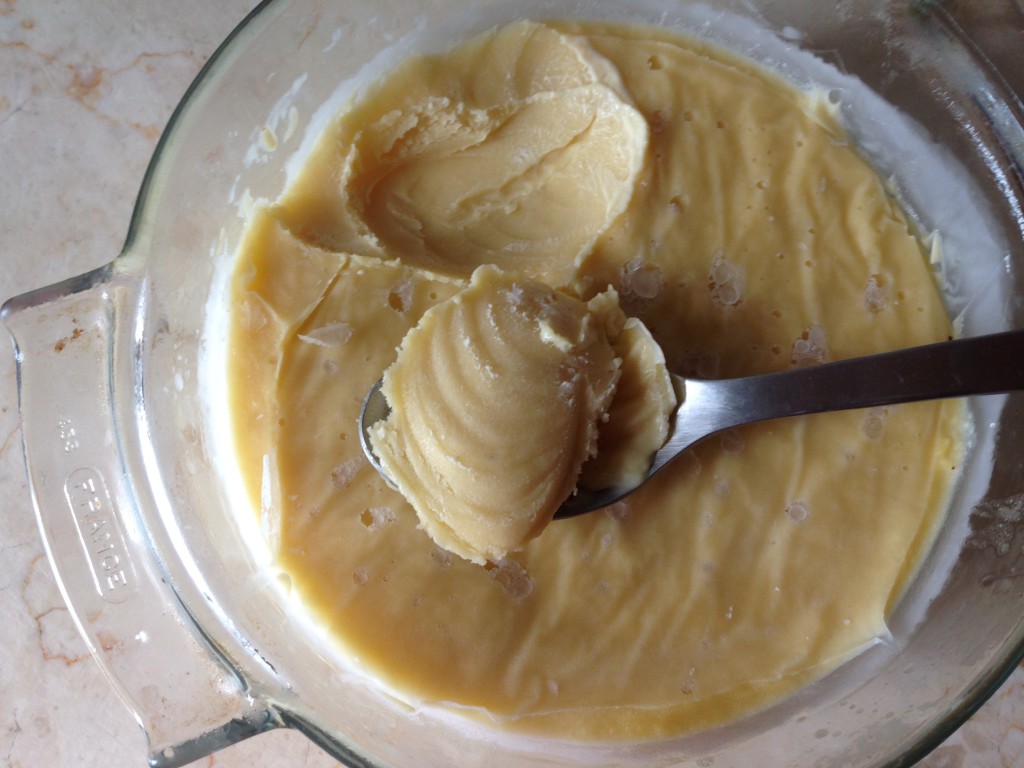 An excellent maple ice cream.
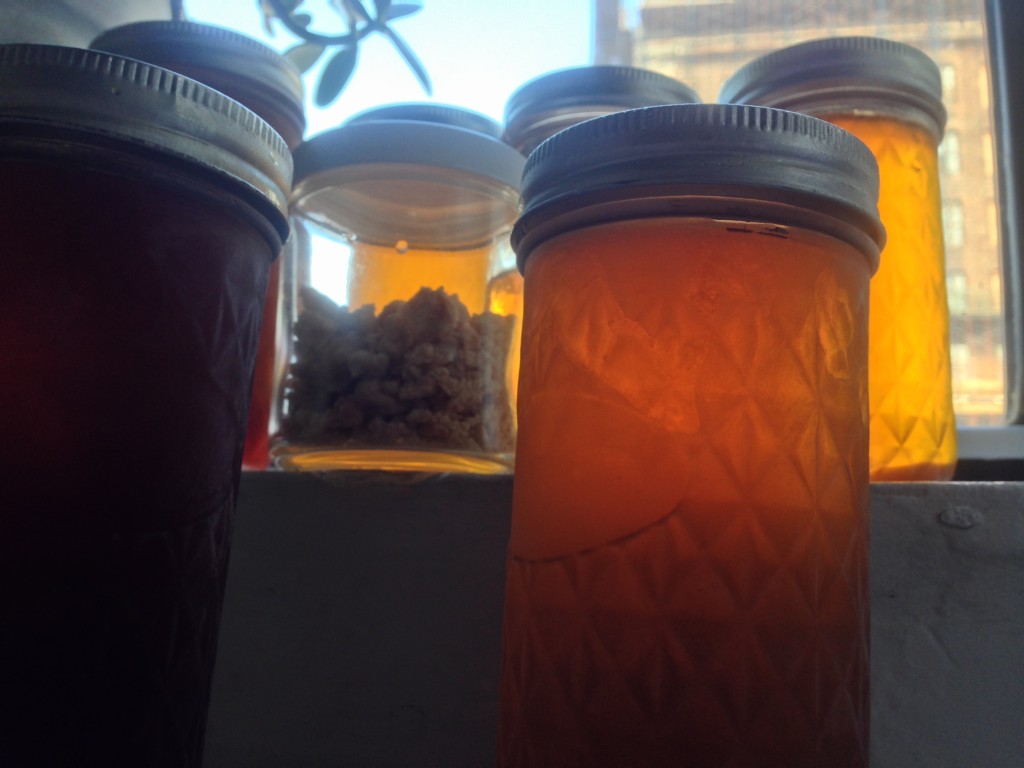 Homemade maple syrup, light and dark, and maple sugar.
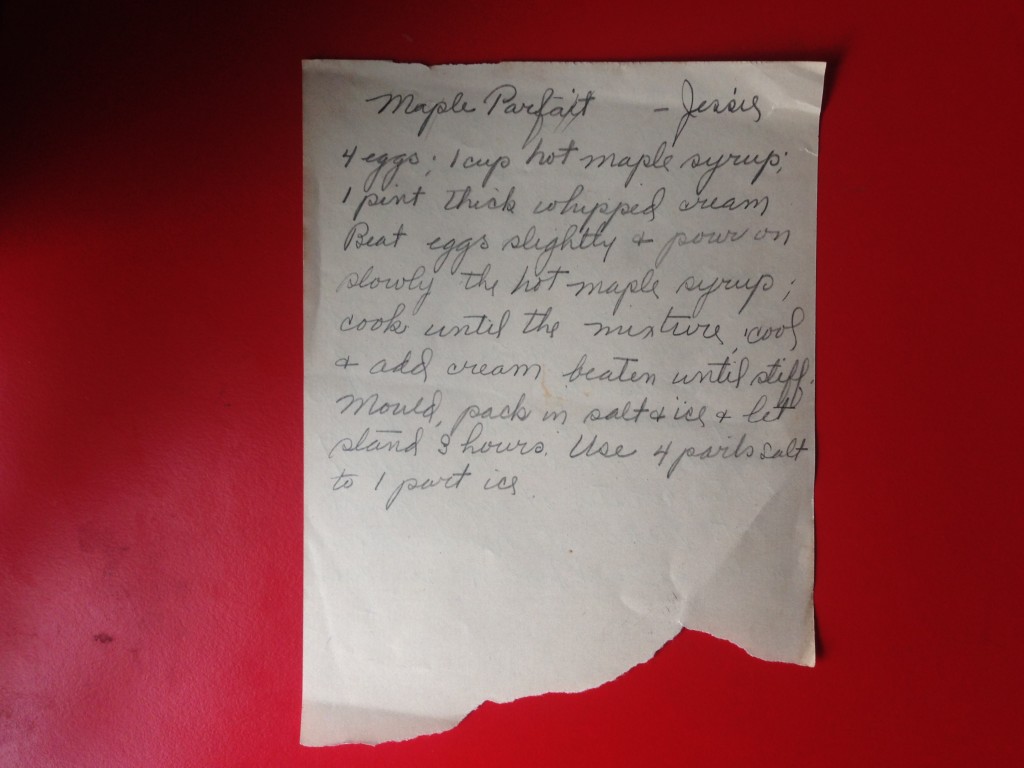 Maple Parfait Recipe
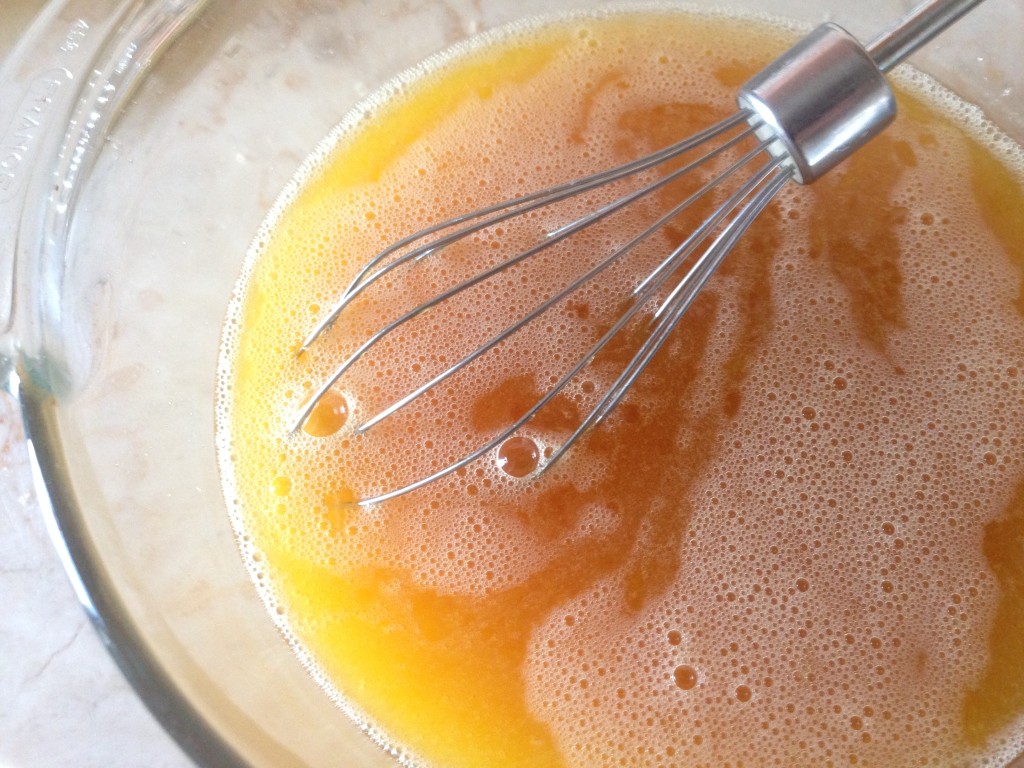 The eggs after the hot maple syrup is added.
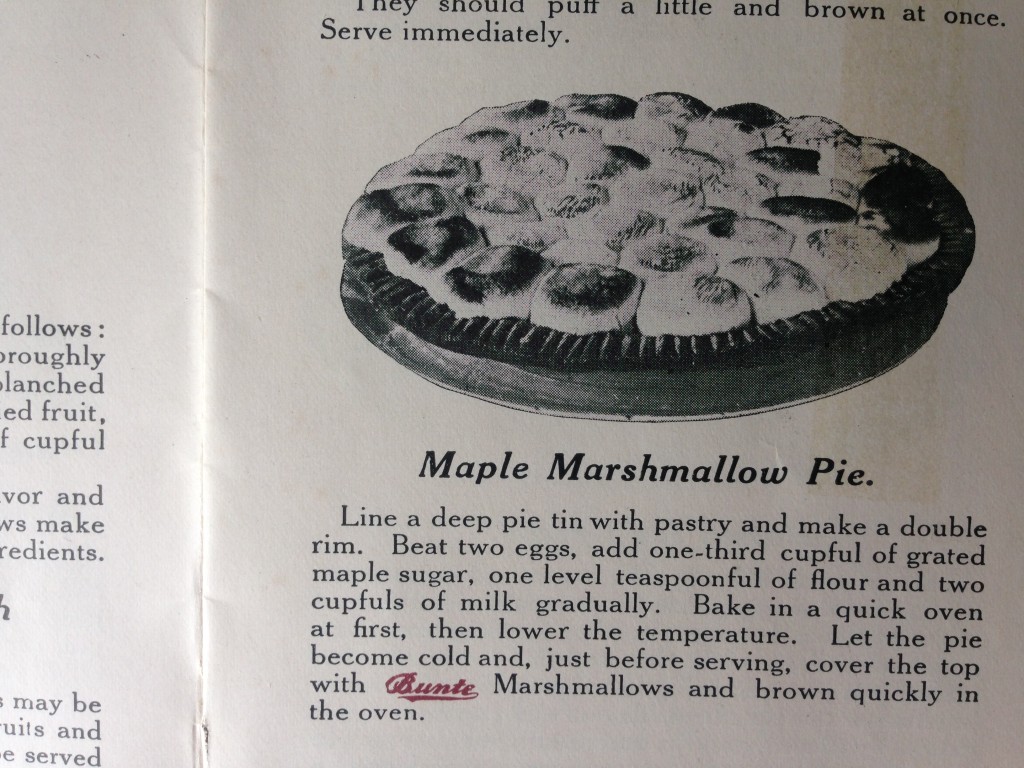 Maple Marshmallow Pie Recipe
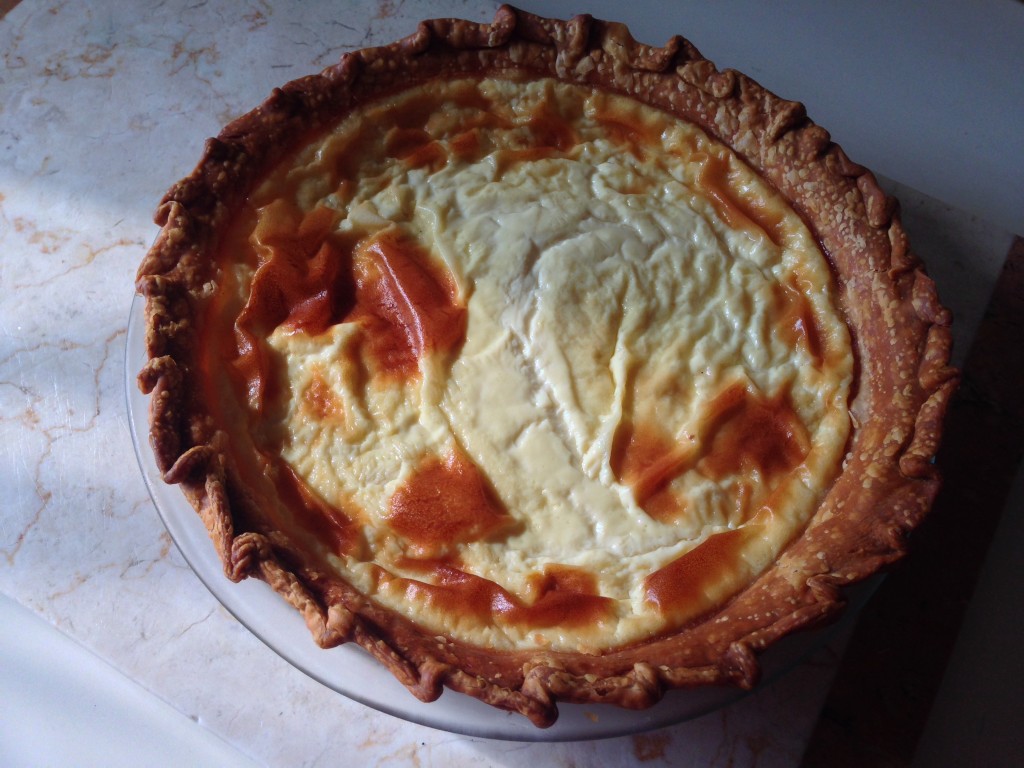 Maple custard pie
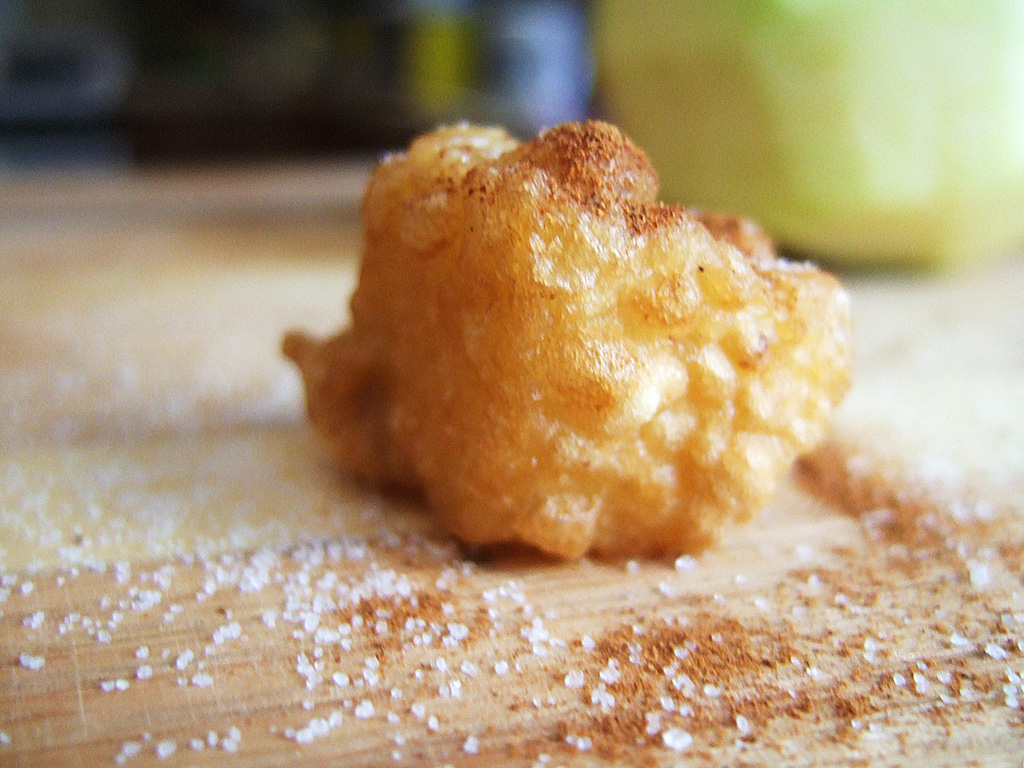
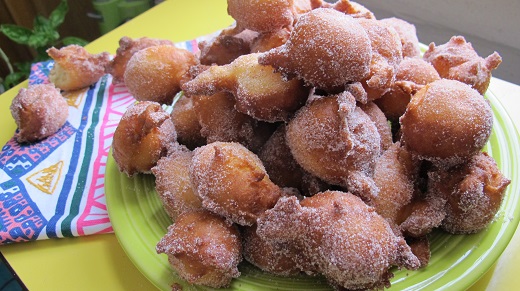 A heaping plate of orange and cinnamon doughnuts.
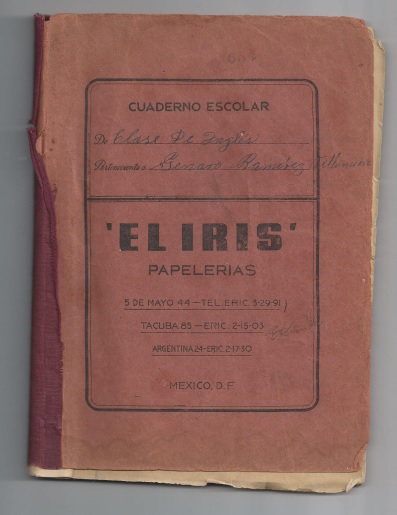 pages were handwritten, in Spanish, which I don’t speak terribly well. But I could recognize the format: lists of ingredients, followed by directions. It was a recipe book, dated 1945.
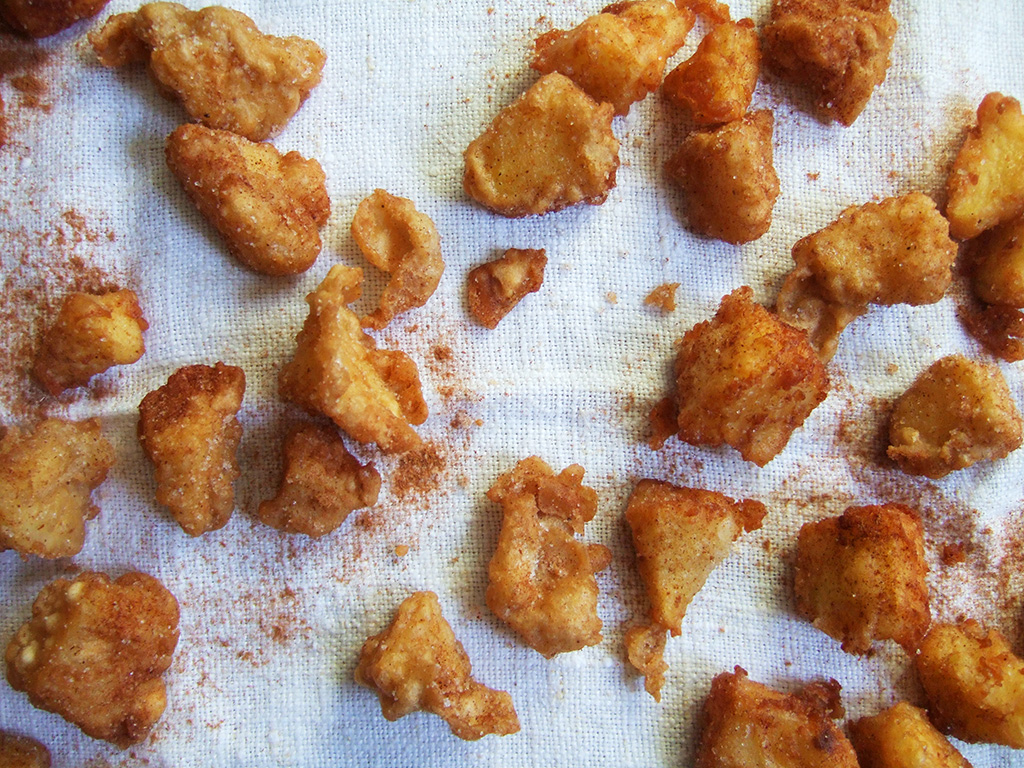
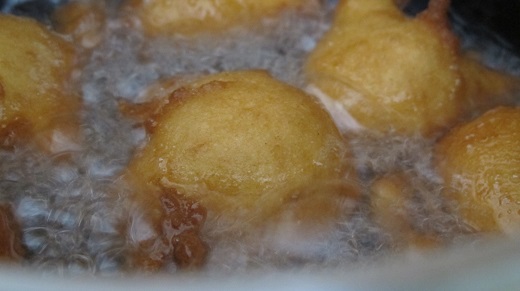 Frying the doughnuts.
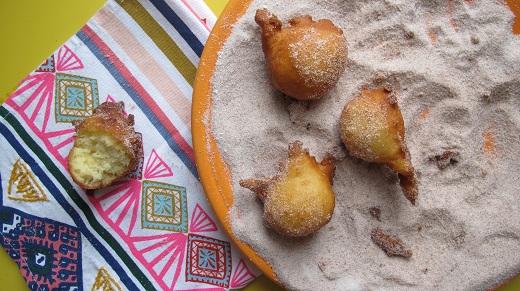 Rolling the doughnuts in cinnamon sugar.
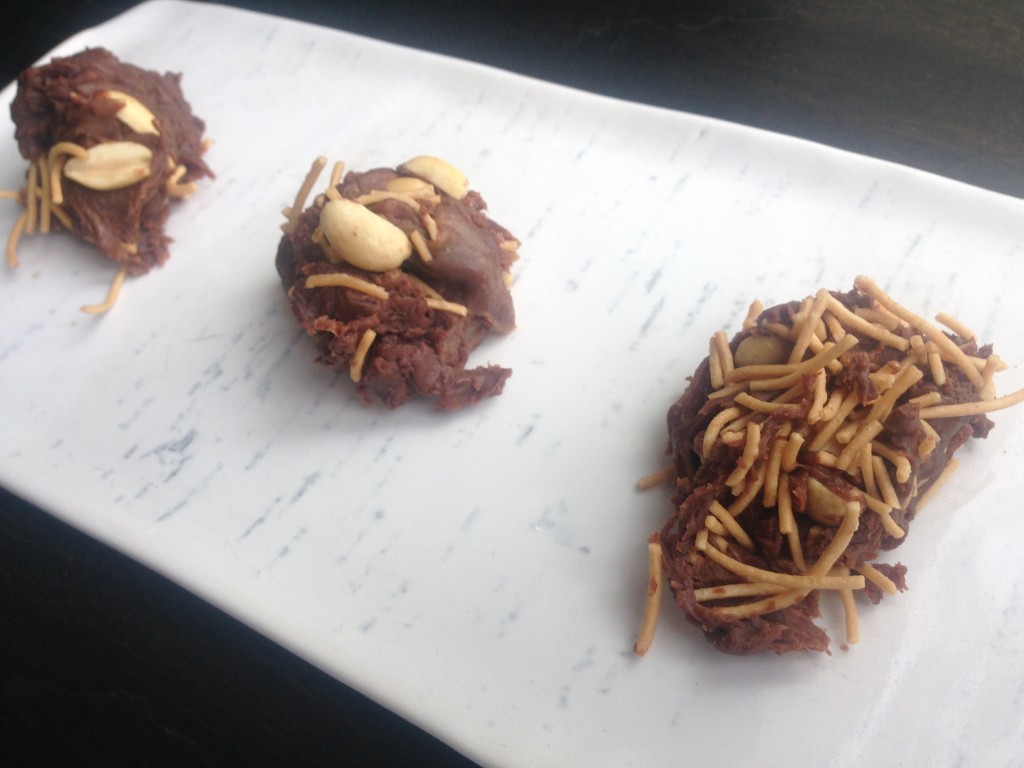 Chinese New Year Cookies…there was nothing I could do to them to make them look less like poops.
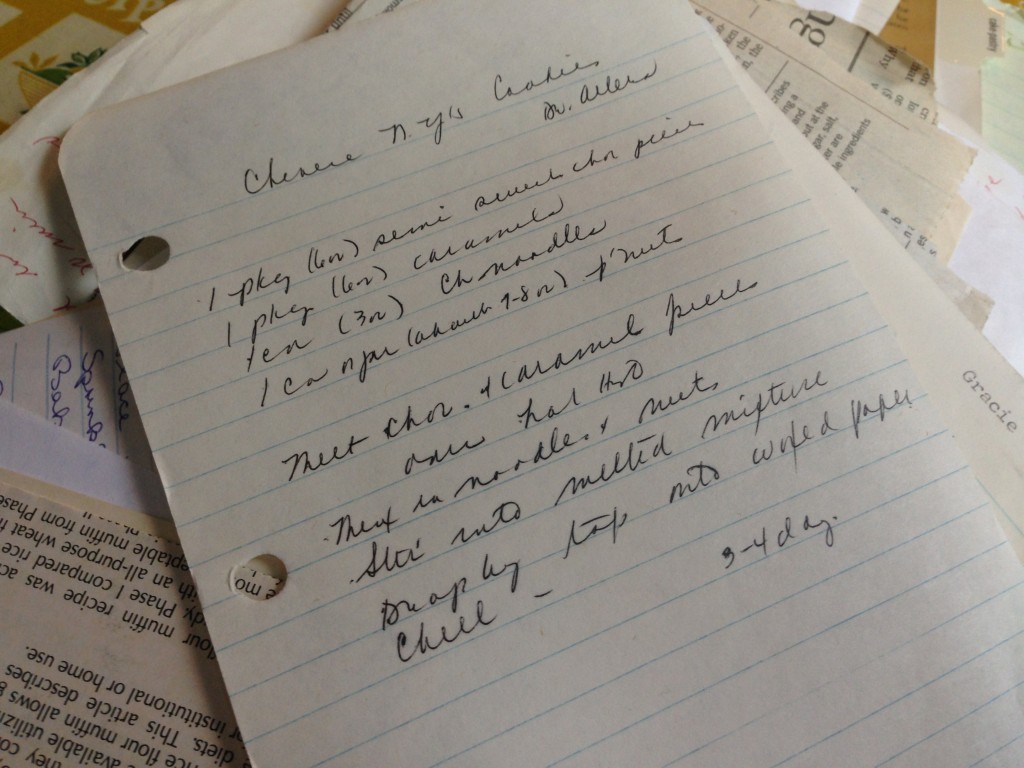
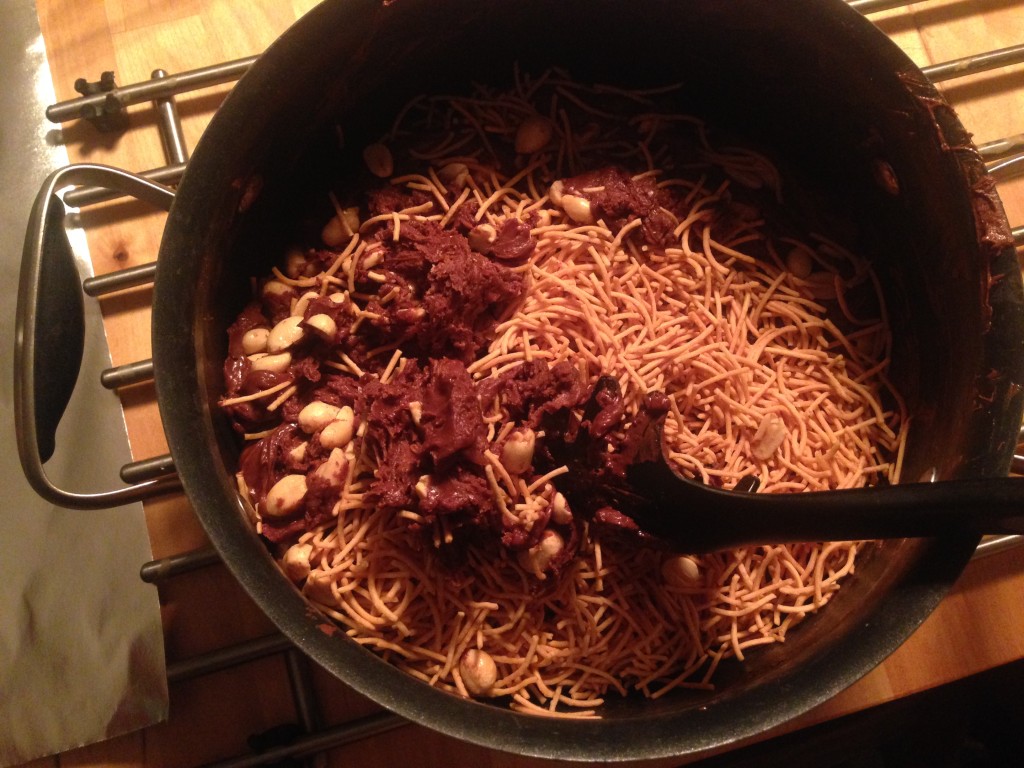 A hot mess from start to finish.
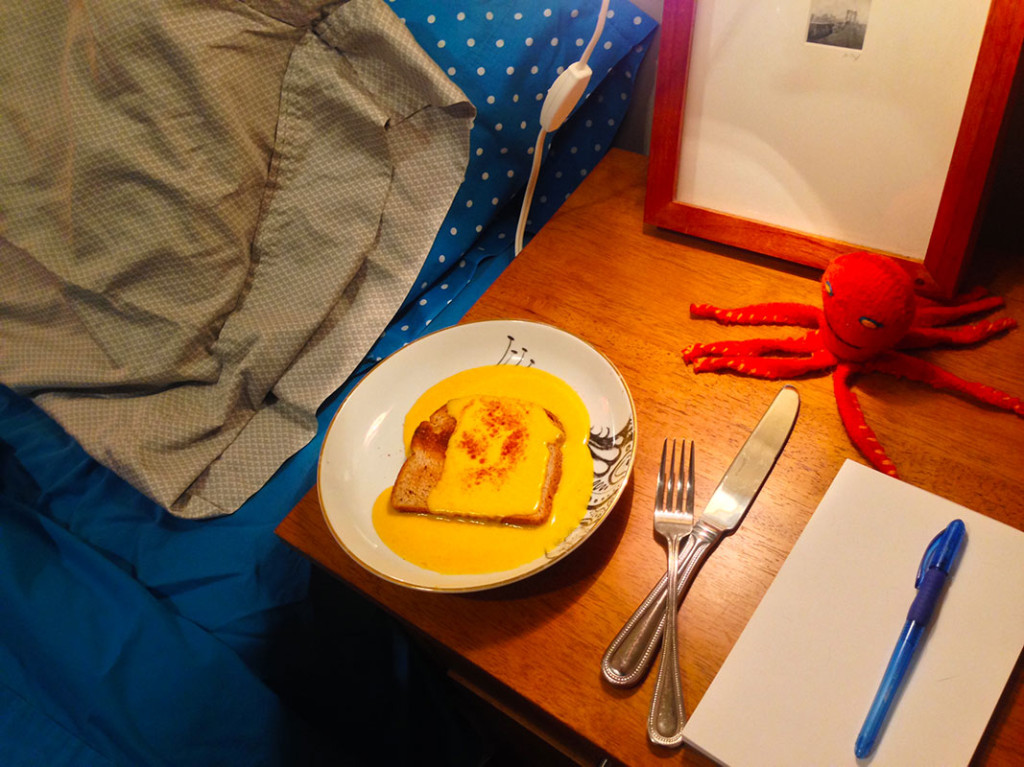 Welsh rarebit: cheese sauce on toast; all ready for my bedtime snack.
 In the final panel, the dreamer always awakens and curses the cheese.
 Valentine Cream of Vegetables, a recipe by Agnes Marshall.
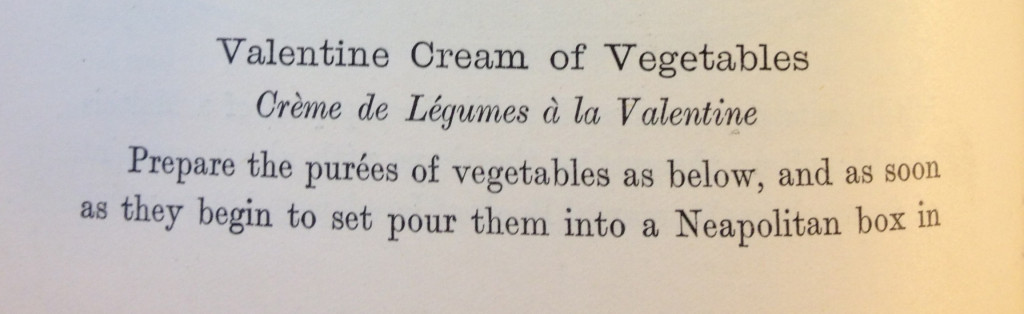 Full recipe
 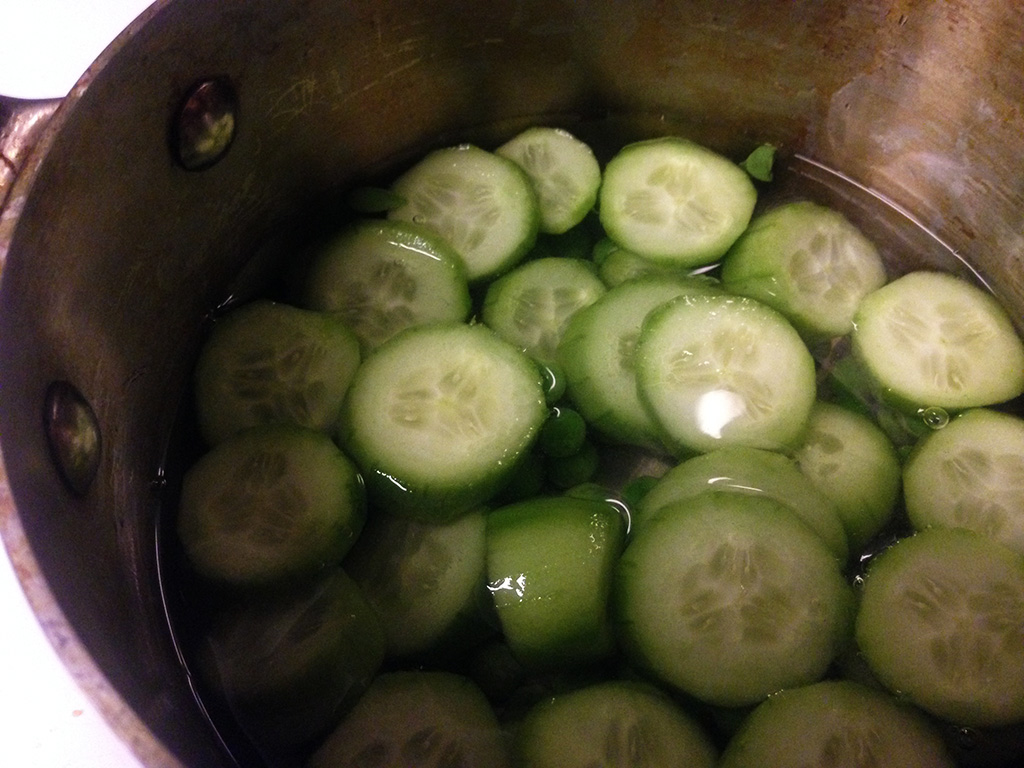 Boiling the green vegetables.
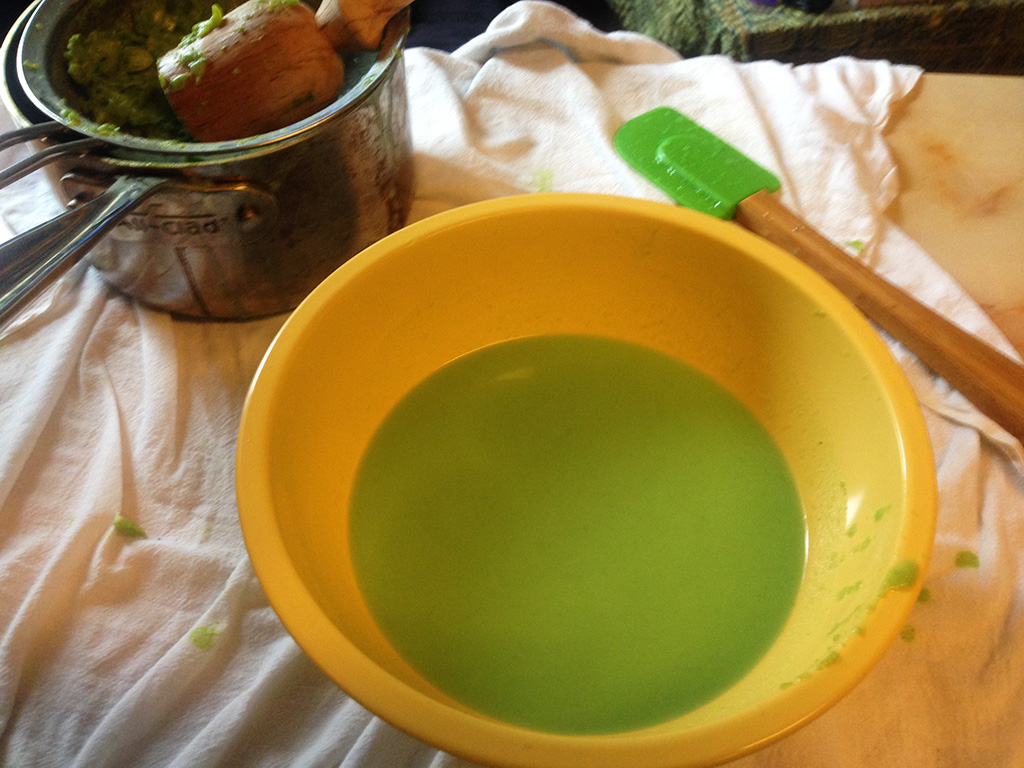 Creating the puree.
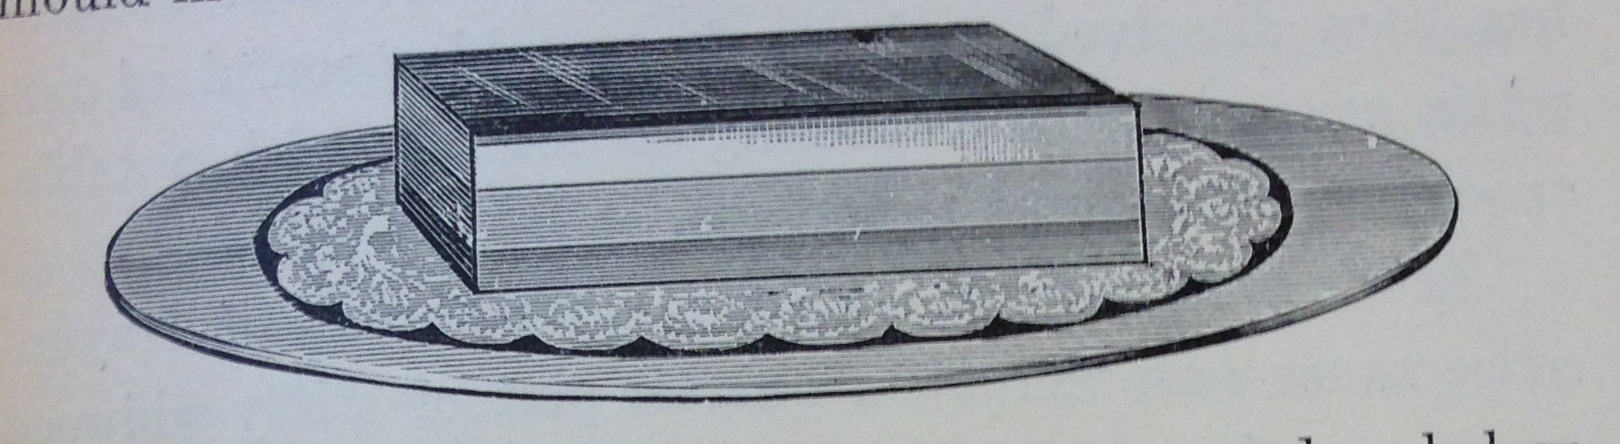 Illustration of Valentine Cream of Vegetables from Fancy Ices.
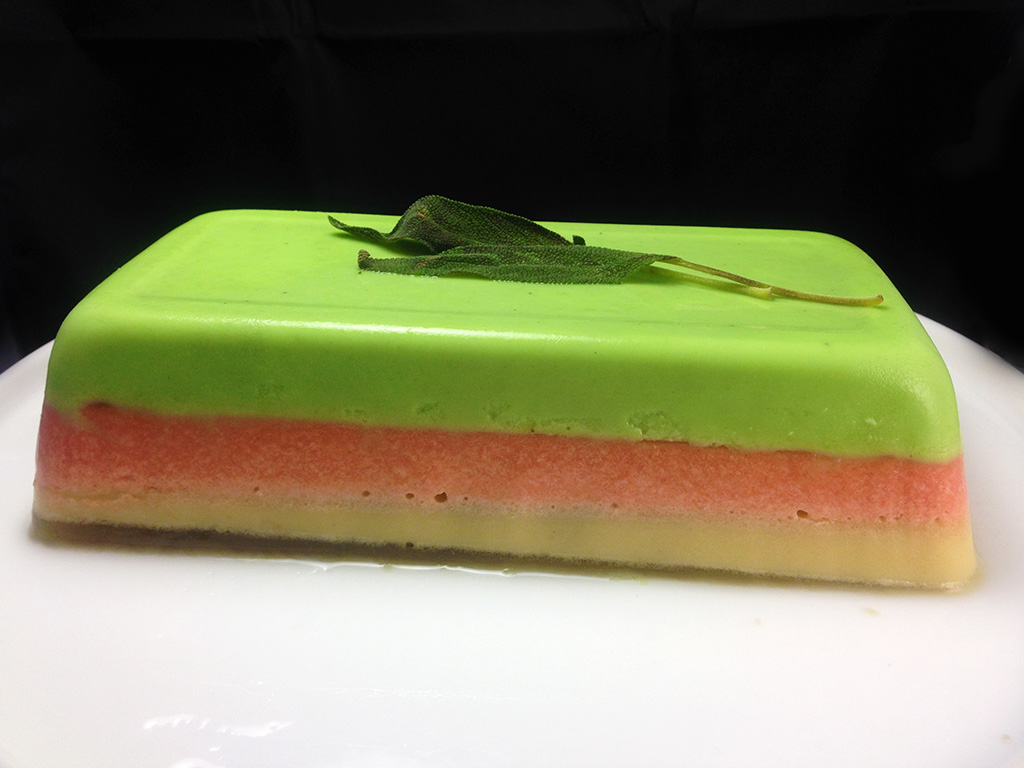 My finished Valentine Cream of Vegetables.