Breakfast
Yaaay, last day! Last day! I know it might seem like a dream to have to eat pastry every morning, but this part of the diet has left me feeling gross and hungry every day. Sugar consumption would have been just as prestigious as meat consumption for Italians in America. I didn’t realize how far my own diet had strayed from such a sweets-laden, carb-heavy menu like this week, so I’m glad to be done with it.
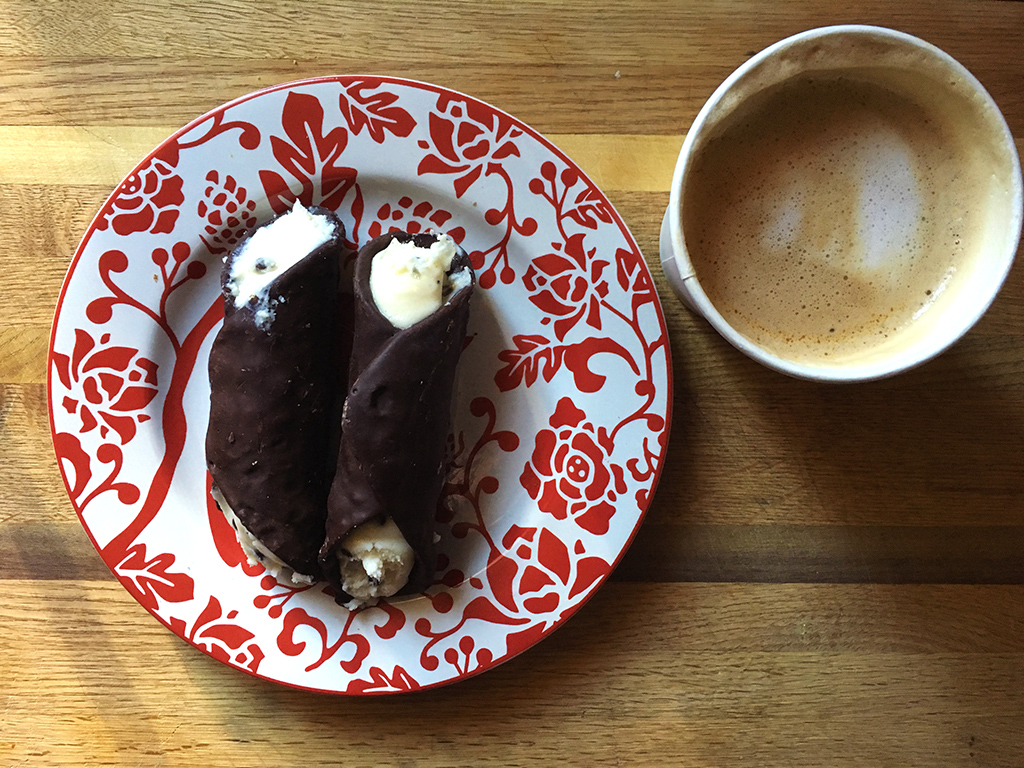
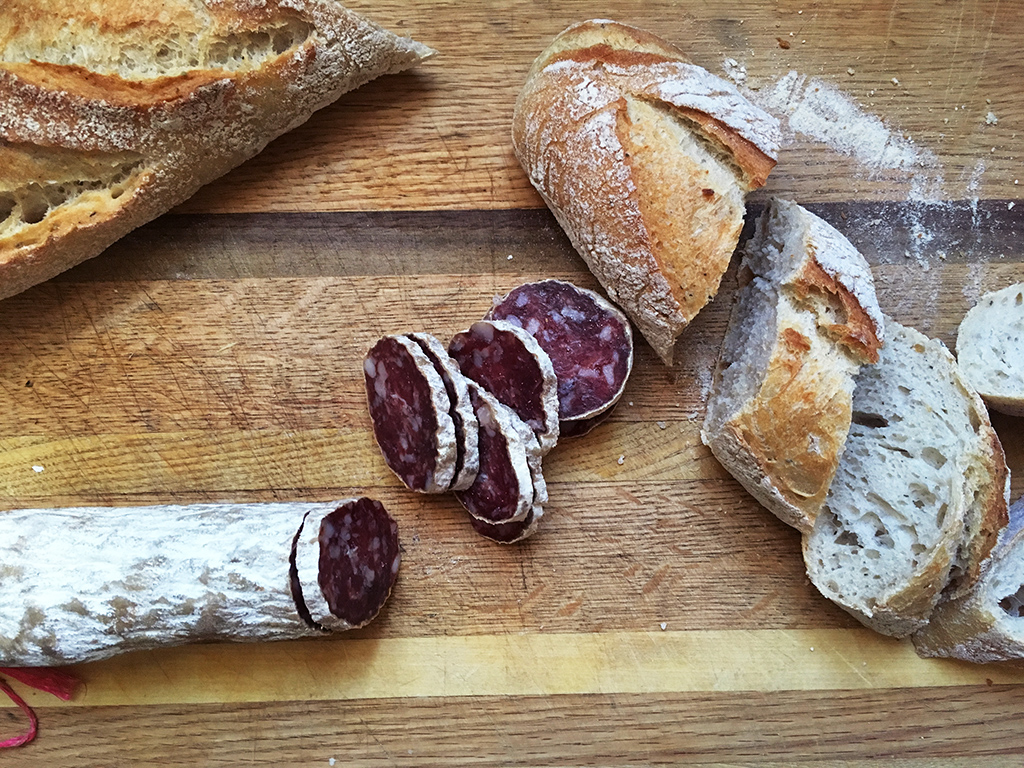
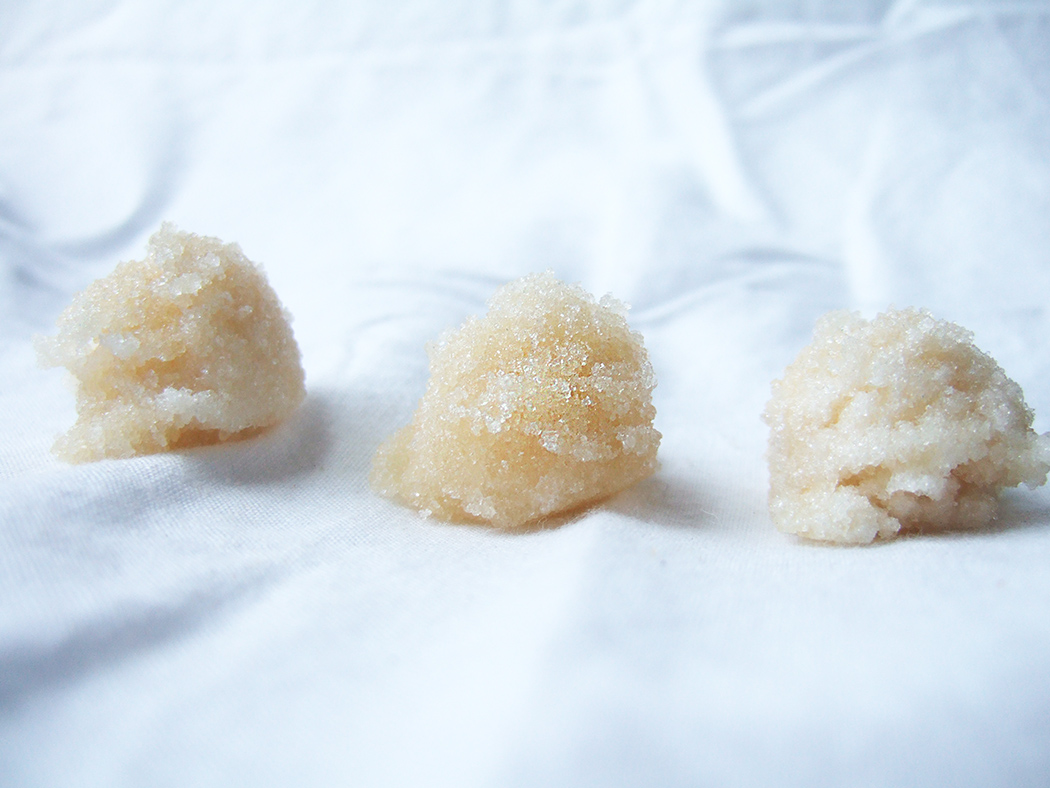
I went to Ferrara Bakery in Manhattan’s Little Italy, founded in 1892, and ordered a 1/4 lb of ameritti and pignoli cookies, which are some of my FAVORITE FOODS ON THE PLANET. But my order got mixed up: when I got home, I discovered I have two, chocolat-enrobed cannolis instead. Not very accurate to 1919, although Americans have always loved enorbing foods in chocolate. Oh well.
Dinner
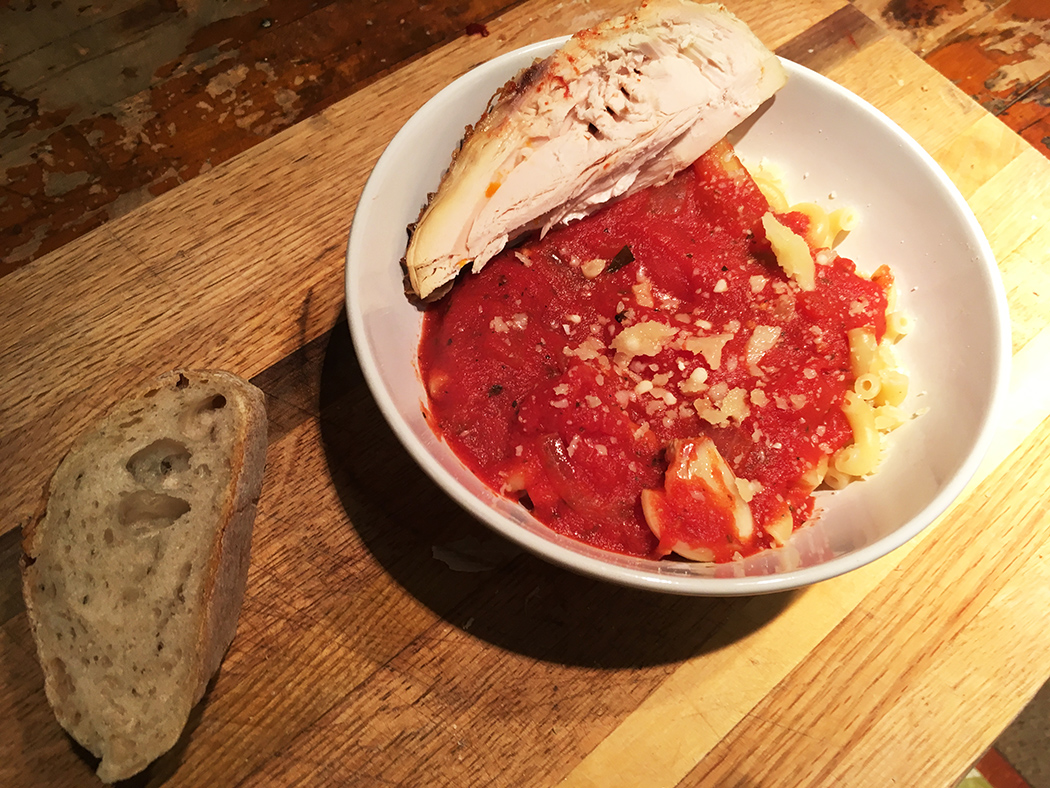
Homemade Macaroni with tomato sauce and chopped meat.
Pot roast. Peas.
Ice cream.
After church, Sundays were taken up by  a giant, late-afternoon meal, laden with pastas and meats. This meal was the most complicated dishes I prepare all week, and even these recipes  seemed simple to some of food I’ve cooked on on this blog.
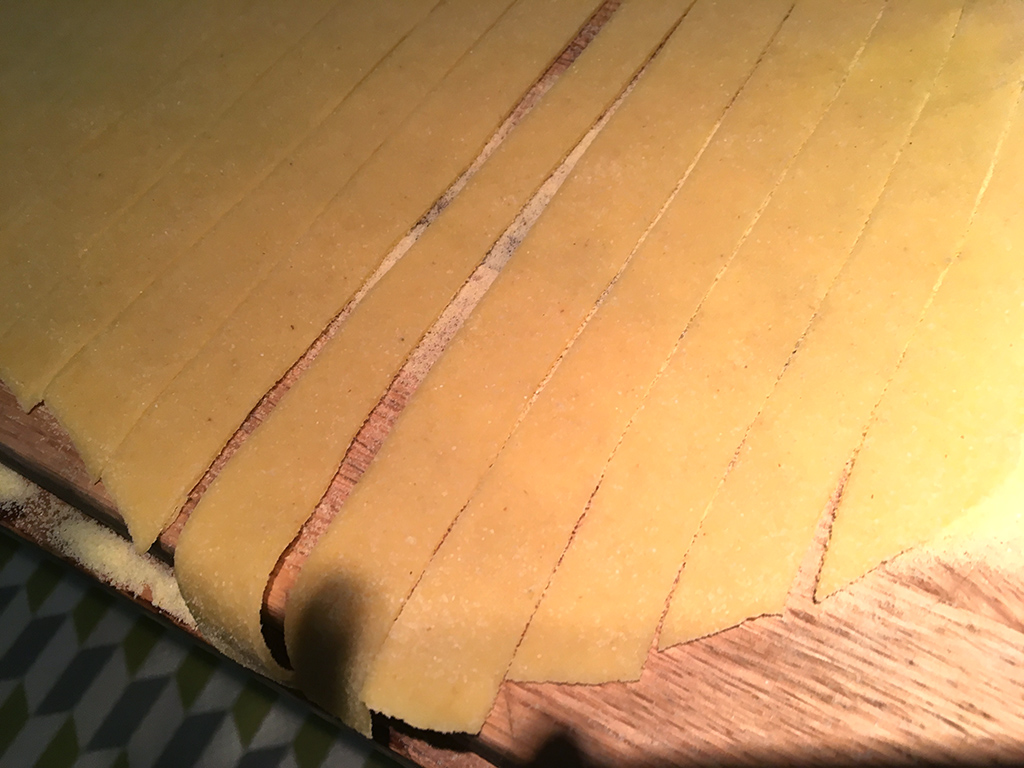
I’ve never made pasta from scratch, but I figured why not give it a shot? I had stopped at Di Palo’s the night before and picked up some fresh pasta as a back up in case things really went wrong.
On pasta, Gentile had this to say: ‘The Italians serve the spaghetti or macaroni at the beginning of the meal, in place of soup, and they give it the name of Minestra Asciuttaor, “dry” soup. Besides the familiar spaghetti, the paste is served in many other forms and with different seasoning. This is by far the most popular Italian dish, and it seems to have pleased the taste of all the peoples of the earth.” The instructions I used to roll out my own pasta came from Wood, who said the best pasta was made with eggs. Back home, Southern Italians likely made pasta simply with water and flour; here, they could afford a richer pasta with eggs. Here’s Wood’s recipe, which I followed:
Tagliatelli o Pasta Fatta in Casa (Noodles or Home Made Paste)
Allow about a cup of flour to an egg. Put the flour on a bread board, make a hole in the middle, and break in the egg. Work it with a fork until it is firm enough to work with the hands. Knead it thoroughly adding, more flour if necessary, until you have a paste you can roll out. Roll it as thin as a ten-cent piece.
This paste may be cut in ribbons to be cooked in soup as Tagliatelli or cut in squares or circles and filled with various mixtures to make Cappelletti, Ravioli etc.
I used semolina flour (available from Bob’s Red Mill). I had to add a little extra water to the egg, then added more flour as I rolled it out “thin as a ten-cent piece.” I think it turned out well, especially for my first time!
I decided to cook it using another Wood recipe:
Spaghetti Italian Style
First put one quarter pound salt pork, sliced, in a small pan fry out and then strain it. Put fat back in pan; cut some garlic, if you like, one onion, too; stir a little and then put in two pork chops. Cook for about ten minutes, then add one cup strained tomato and cook for about half an hour to an hour according to meat. Second, put enough water in a good sized pan and let come to a boil; then put in one half pound spaghetti and cook .Strain spaghetti in a colander and spread in a platter over spaghetti; spread grated cheese and sauce. Put meat in a dish separate.
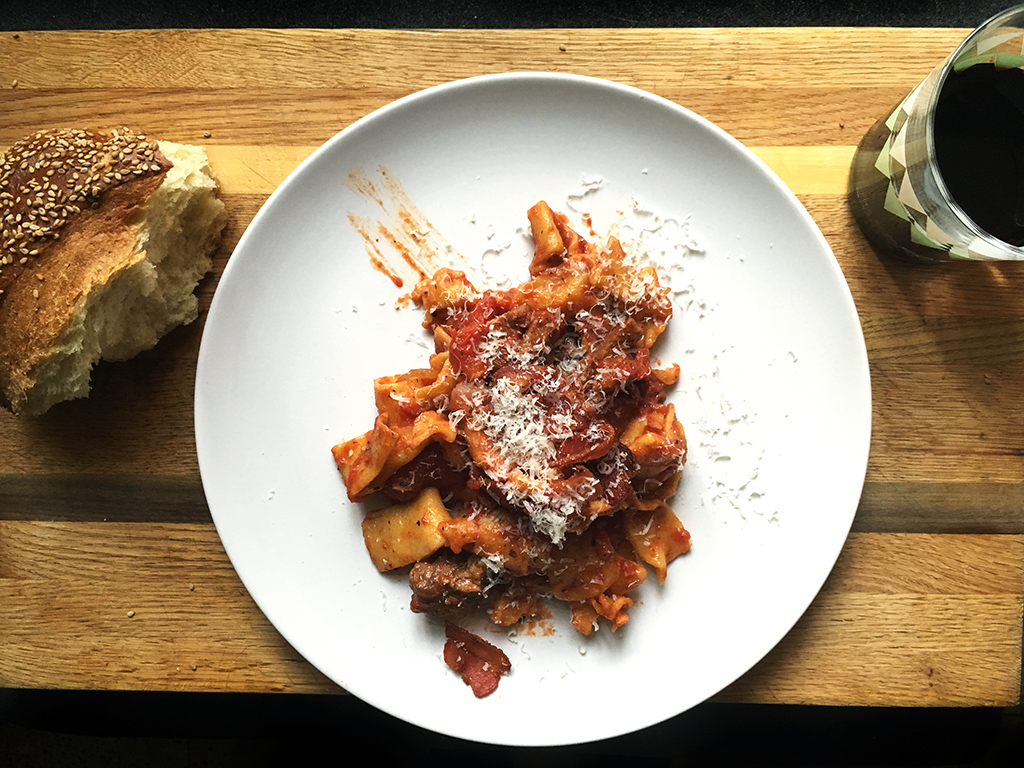
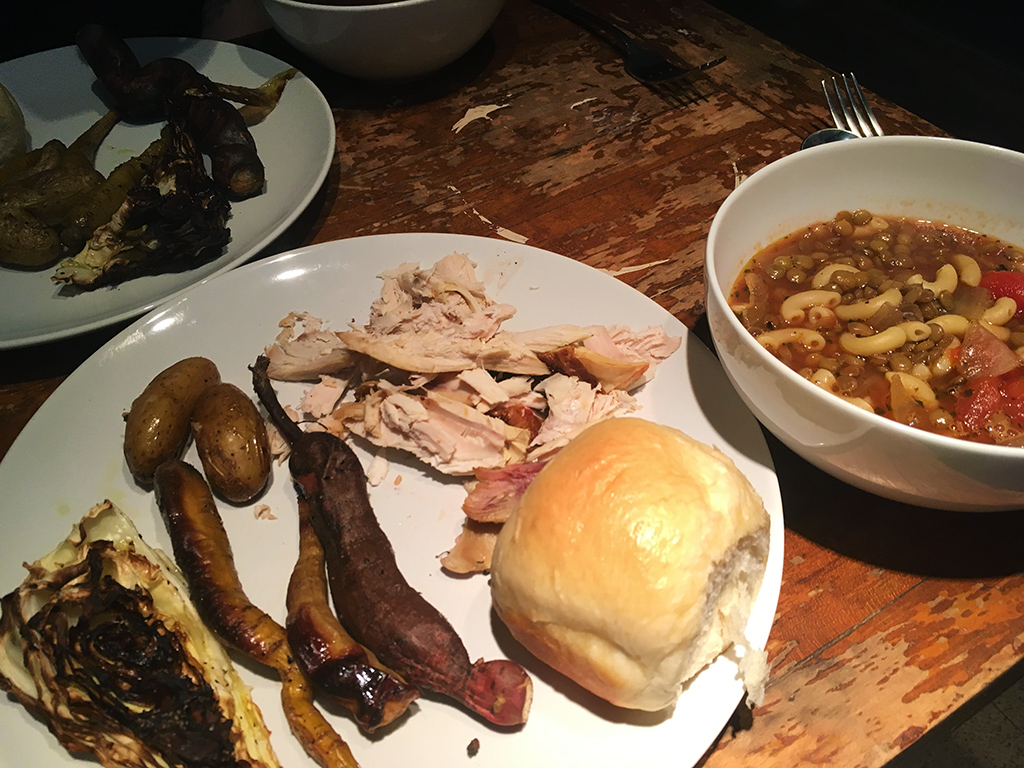
She used dry spaghetti, I simply subbed my fresh-made pasta. I fried bacon in a large skillet, and when it had browned, scooped out the bacon and leftt he hot fat. Then I added a medium-sized onion, chopped, and three chopped garlic cloves. When they had browned a bit, I added a big pork chop from Di Palo’s that I had cut into two-inch squares. Once the meat was brown, I added two cups of tomato sauce from the pot o’ sauce I made earlier this week, as well as salt and black pepper. I covered it and let it cook for 20 minutes, then added my fresh pasta and let it cook ten minutes more. When I plated the pasta, I topped it with crumbles of bacon and a grating of parmesan cheese.
The pasta turned out a bit too al dente, but still (I thought) very good. I love a tomato sauce paired with bacon fat; and although I thought the limited seasonings would be boring, the acid and sweetness of the tomatoes paired nicely with the umami meat. I scarfed a plate and swabbed up the sauce with bread.
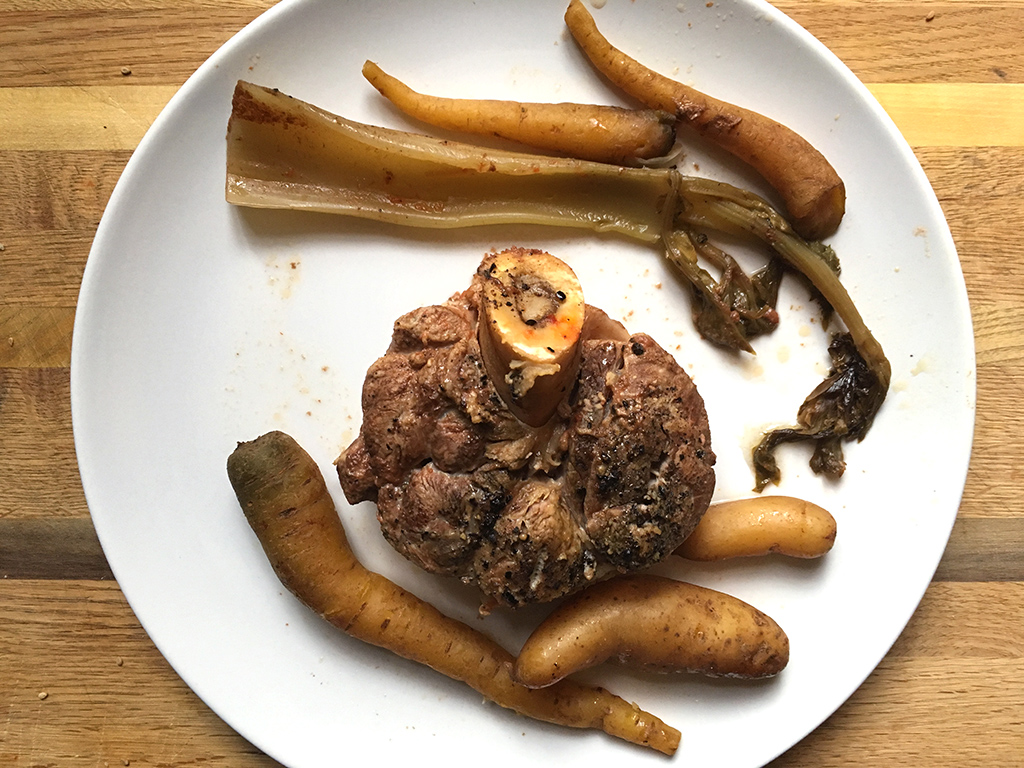
Then came the “pot roast,” which is a very American/New England term. So what is it that they were cooking? I search Gentile’s Italian cookbook, and found this recipe for “Stewed Veal.” Veal is mentioned a few other times the meals that Sophinisba documents, so I thought it was an appropriate recipe for Sunday dinner.
STEWED VEAL
(Stracotto di vitella)
Place in a saucepan one pound of veal or more, bone included, a piece of butter or some olive oil (or the two together), half a medium sized onion, one small carrot, two celery stalks cut in small pieces. Season with salt and pepper. Put it on a low fire, turn the meat over often and when browned add a pinch of flour and some tomato paste, bringing it to full cooking with water poured little by little. The flour is used to keep the sauce together and give it color, but care must be taken not to burn it, because in that case the sauce would have an unpleasant taste and a black, instead of a reddish color. The stewed veal can be served with some vegetable.
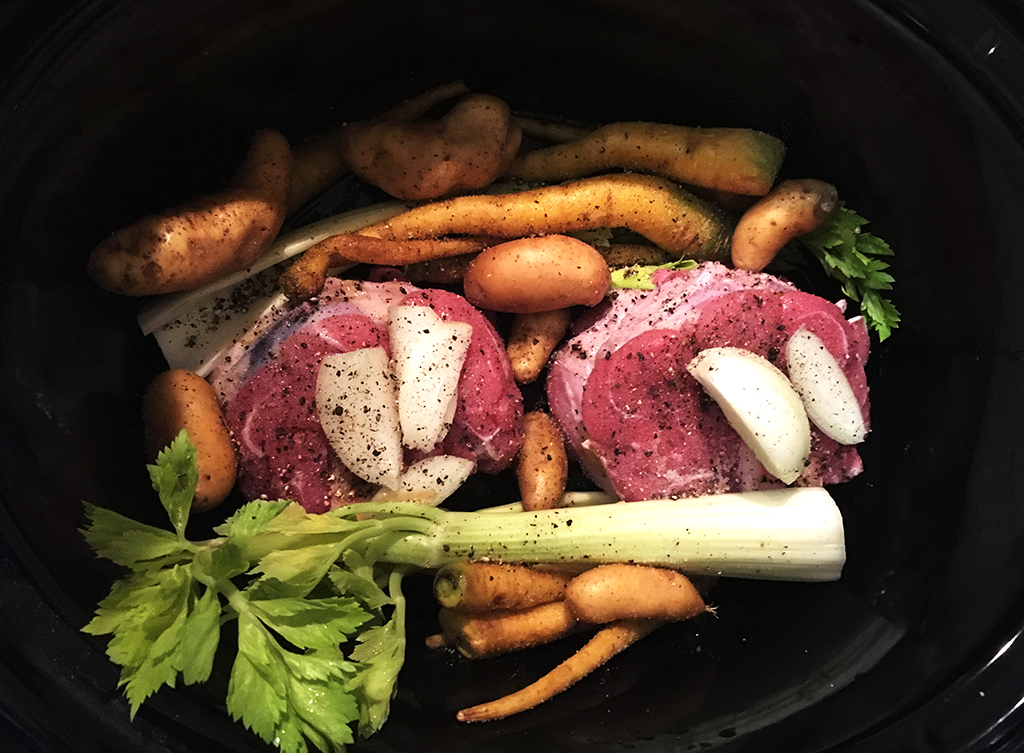
I actually decided to cook this dish in my slow-cooker; it could cook slow and low and I wouldn’t have to pay attention to it. I could have browned the meat, but I didn’t; I just put two, 1.5 lb bone-in veal shanks in the slow cooker, and seasoned them as the recipes directs, including a tablespoon of tomato pasta I mixed with a little water. I didn’t want to serve peas with the veal, as the menu suggested, because this dish was pulled from the summer menus, and peas aren’t in season now. So instead, I tucked little carrots and potatoes around the veal. I added four cups of water, and set it to cook on high for four hours.
The meat was fall-off-the-bone tender, and despite the simple seasoning, so flavorful. Even thought I felt full after eating a whole plate of pasta, the meat and veggies felt light in comparison, like I had plenty more space to fit them in.
I had planned to treat myself to some gelato later in the afternoon, but never had time after running to a series of meetings (how very un-Sunday of me). I got home late in the evening, and was feeling peckish, so I made some “supper.”
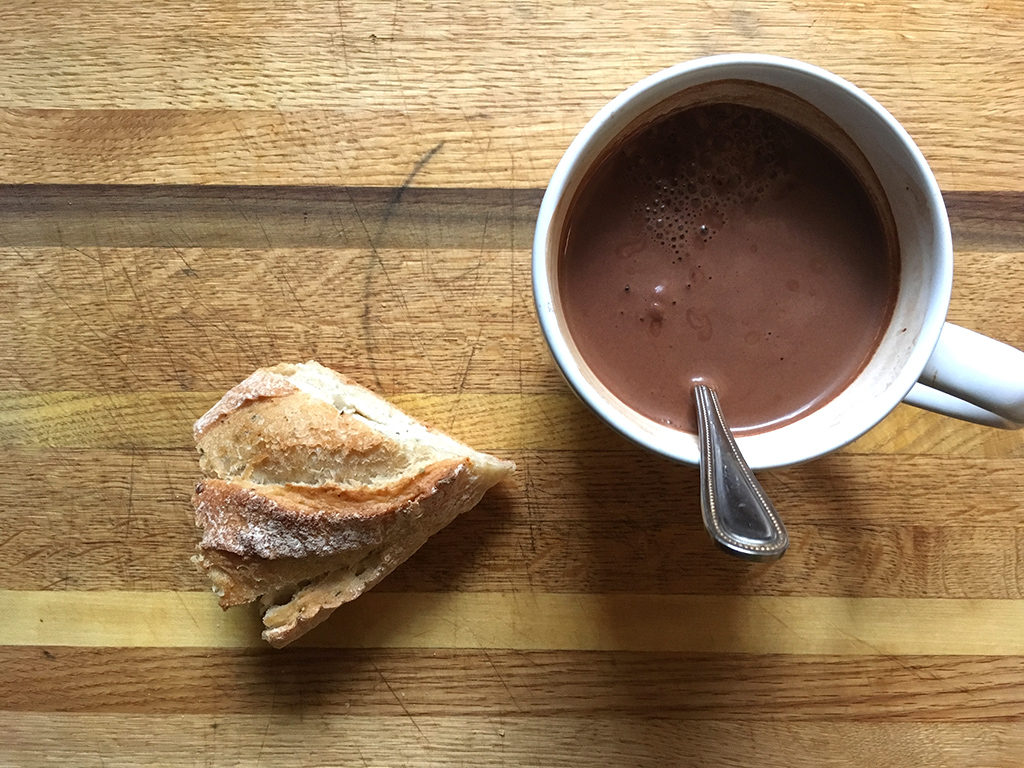
Supper
Rice cooked in milk with egg.
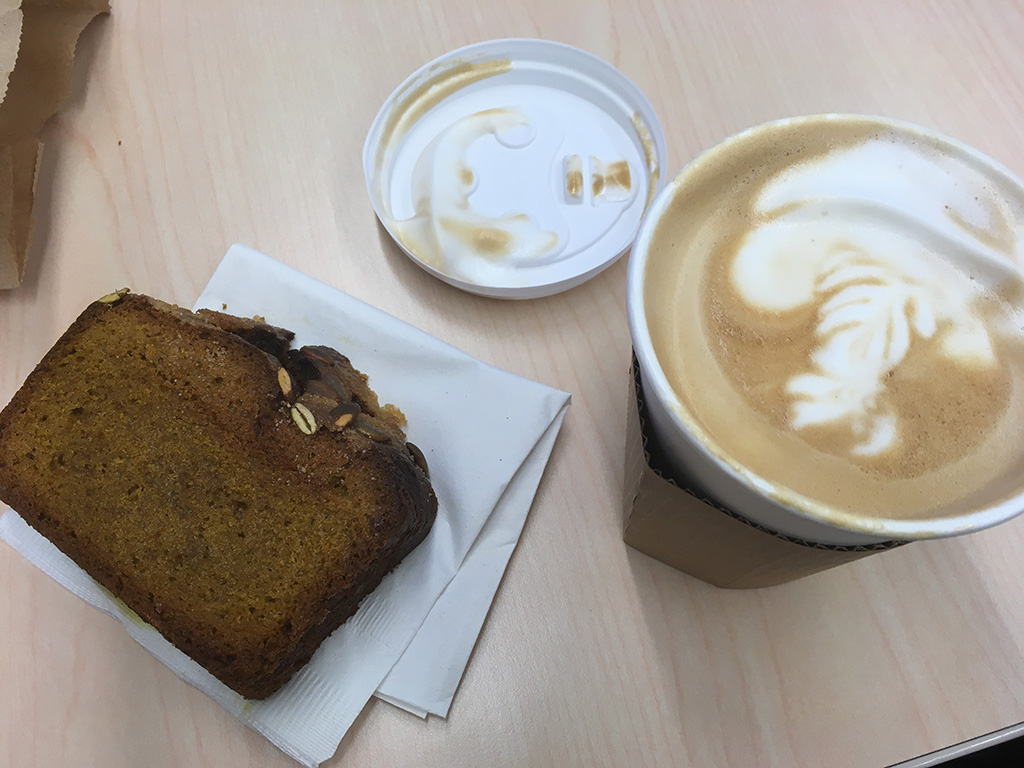
Cake. Coffee.
This supper is supposed to be a light meal after the heavy afternoon dinner. But the rice cooked in milk with egg was a really baffling recipe. I texted Jill to see if we could figure out was up here; she answered “Like an enriched rice pudding?? Rice pudding isn’t Italian…and I feel like rice pudding would have been known to her (Sophinisba), so she would have described it as rice pudding. I am really stumped.”
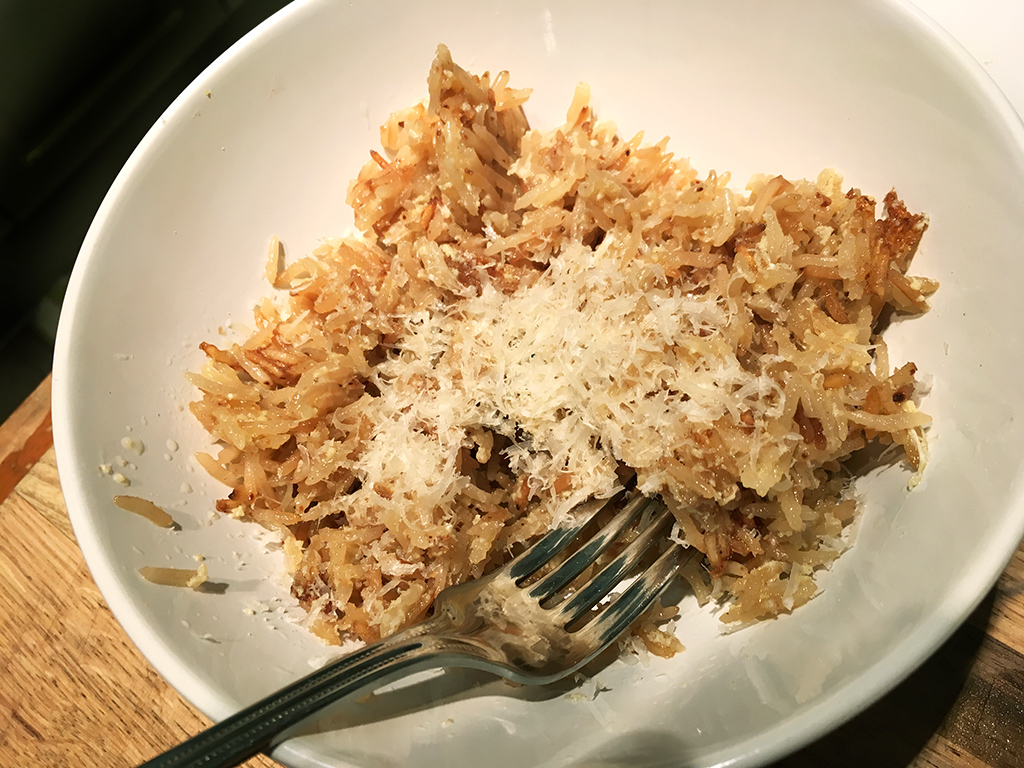
It didn’t mention sugar in the recipe, so I suspected it might be savory. Could it be a misinterpretation of risotto? but looking through Gentile’s book, I found this recipe for a savory rice dish with eggs:
RICE PUDDING WITH GIBLETS
(Sfornato di riso con rigoglie)
Make a good brown stock  and use the same for the rice as well as for the giblets. To these add some thin slices of ham and brown them first in butter, seasoned moderately with salt and pepper,completing the cooking with brown stock. A taste of mushrooms will be found useful.
Brown the rice equally in butter, then complete the cooking with hot water. Drain and put the brown stock, adding grated cheese and two beaten eggs, when the rice has cooled a little.
Take a smooth mold, round or oval, grease it evenly with butter, cover the bottom with buttered paper and place in it the rice to harden it in the oven. When taken from the mold pour over the gravy from the giblets, slightly thickened with a pinch of flour and serve with the giblets around, seeing that there is plenty of gravy for them.
I pulled parts of this recipe to create my dish: I browned the rice in butter–the only time I’ve used butter this week; perhaps I should have used olive oil. then, I cooked the rice in whole milk instead of stock or water. I turned off the burner, and while the rice was still got, poured in a beaten egg mixed with a generous amount of greater parmesan. Is stirred constantly while pouring in the egg, and let it sit, covered, for 10 more minutes. The result was creamy; sort of crumbled, but held together in chunks by the egg.
When I gave it a try…it was weird, at first. The rice felt a little greasy, from all the dairy fat, which is not a sensation I’m used to with rice. but then it grew on me–it was nutty, from the toasted rice, and cheesy from the generous parmesan shavings. Yeah I can get behind it. But if anyone has a better idea what this dish might be, I’d love to hear it in the comments.
The rice was enough; I skipped the cake, and definitely didn’t want coffee at 9pm.
So that’s the end of this week-long experiment. As I mentioned in another post, at one point I wasn’t certain I was going to continue writing this week in light of what was going on nationally; in the end, I’m really glad I did. It’s served as documentation of this important week in my life, as well as an outlet for issues that are important to me.
It’s the end of this experiment, but there are many more to come. Thank you for joining me.


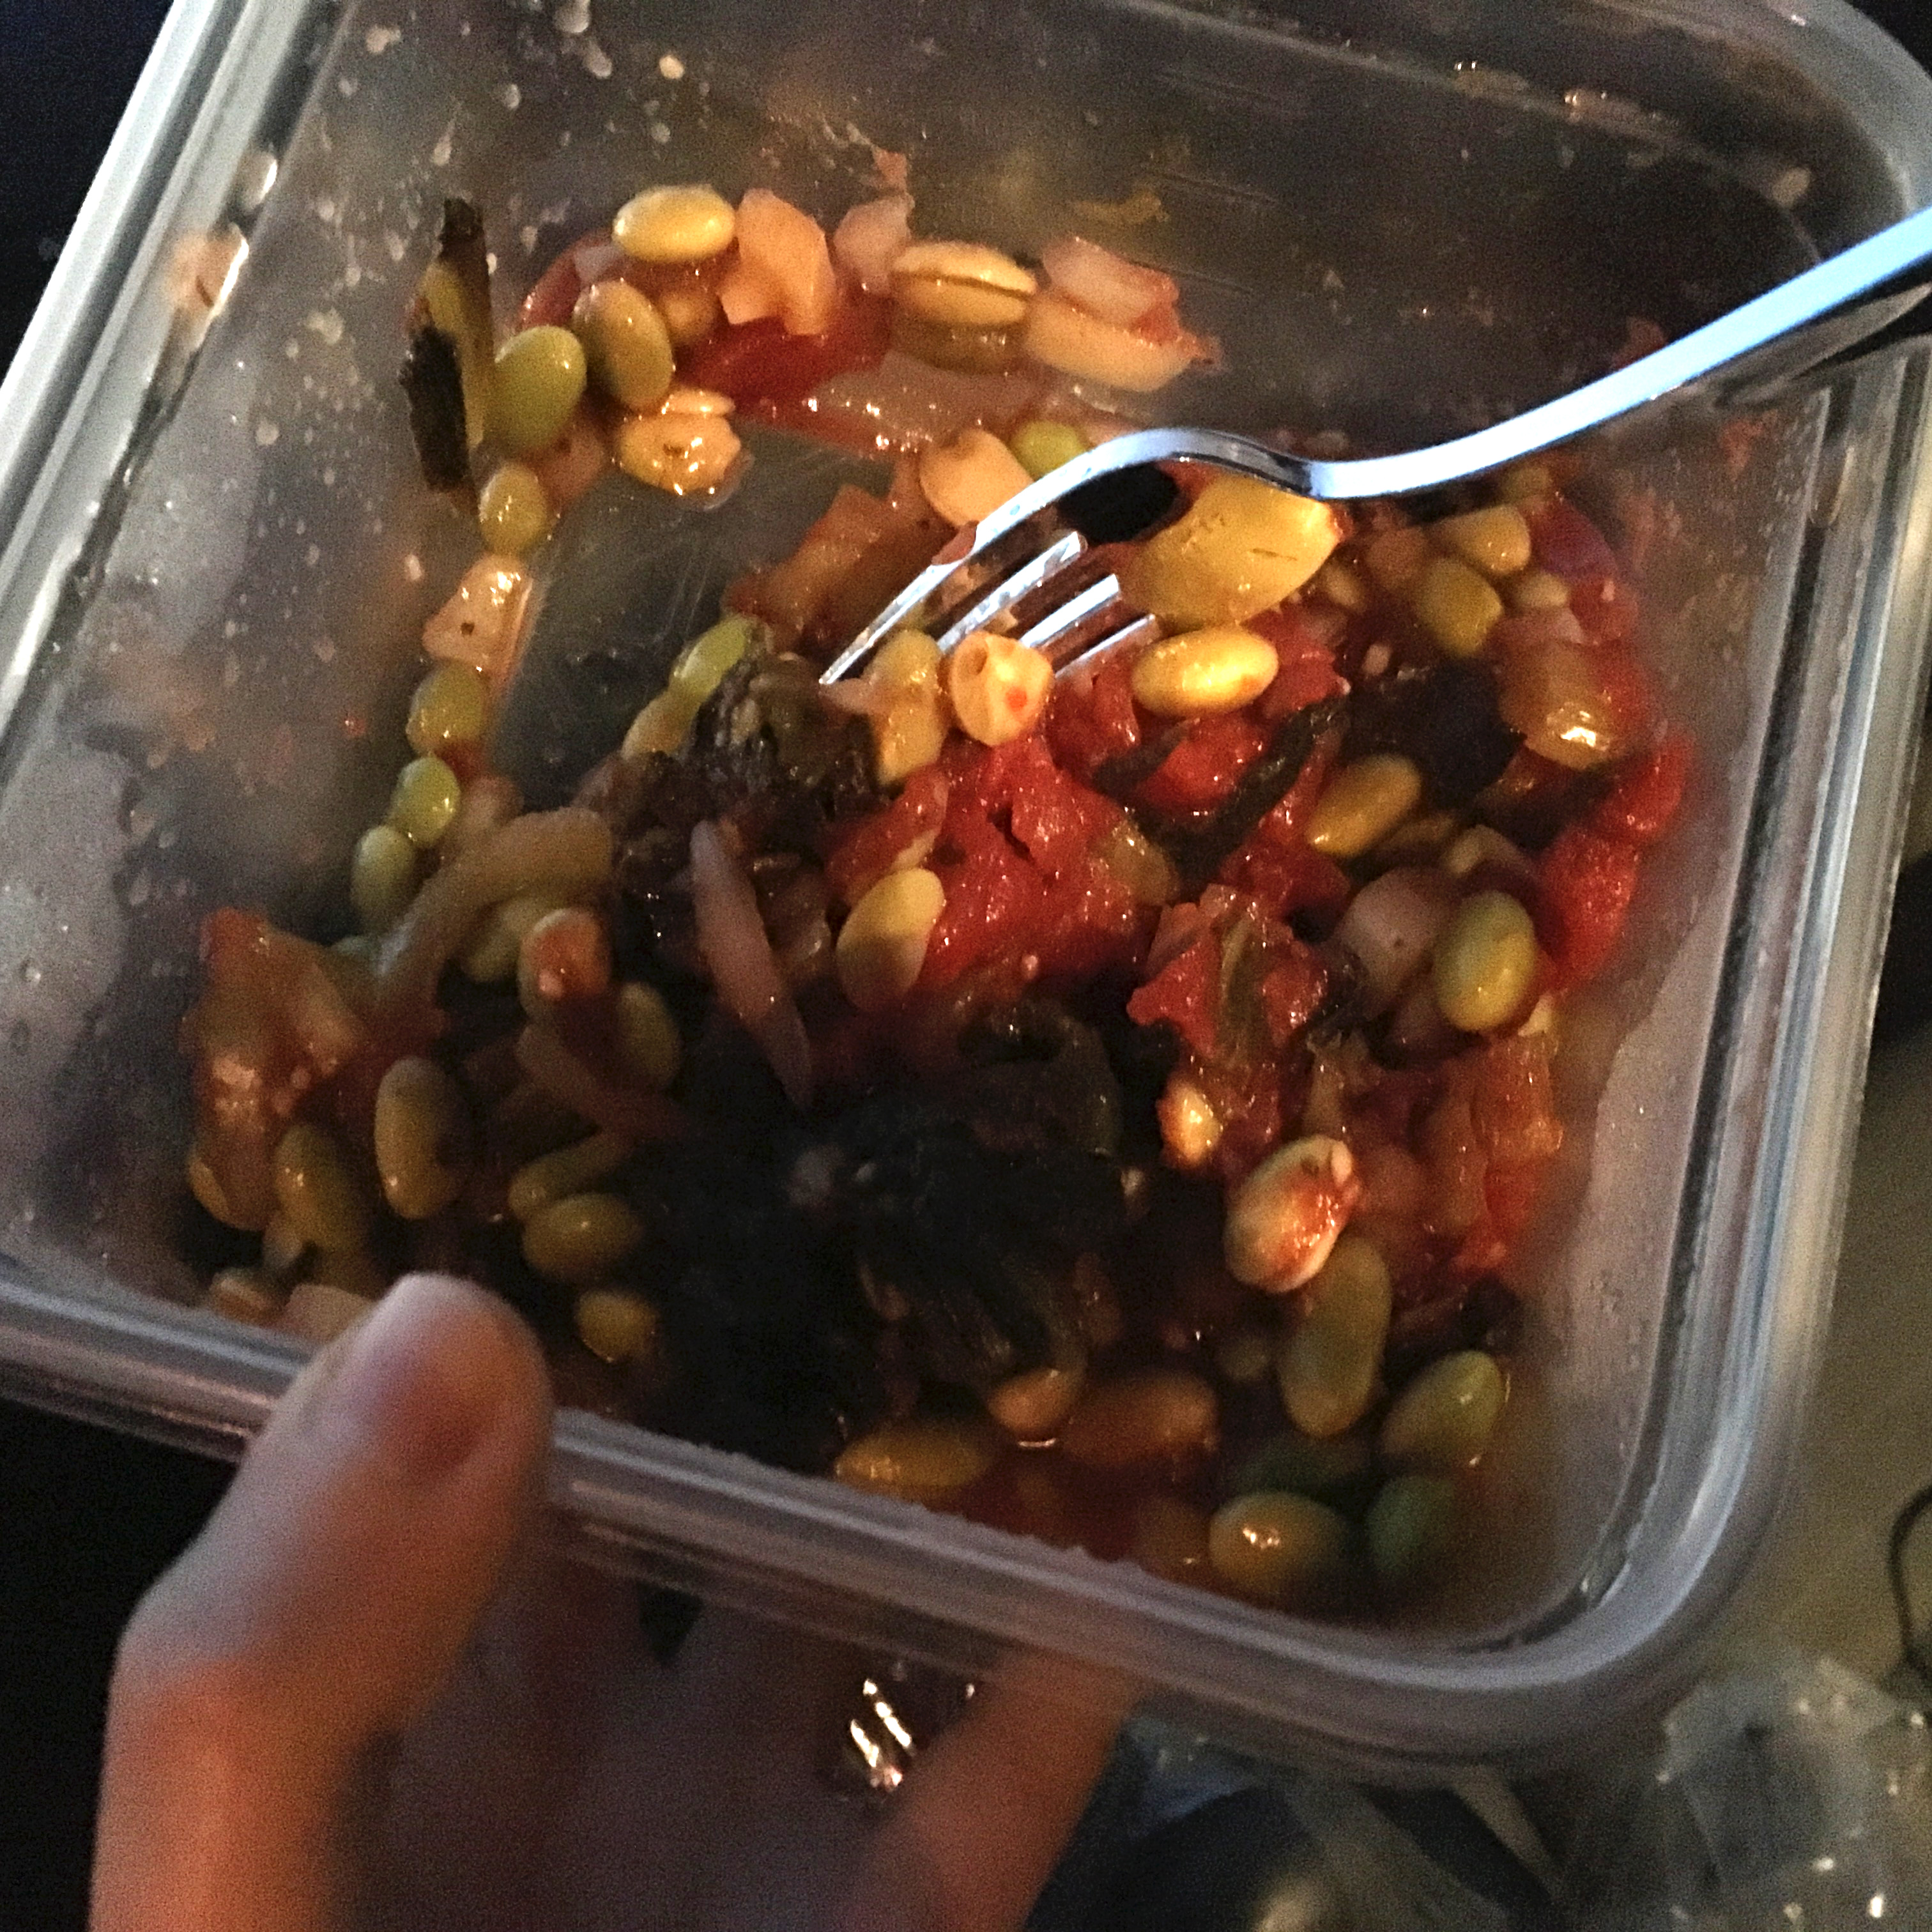
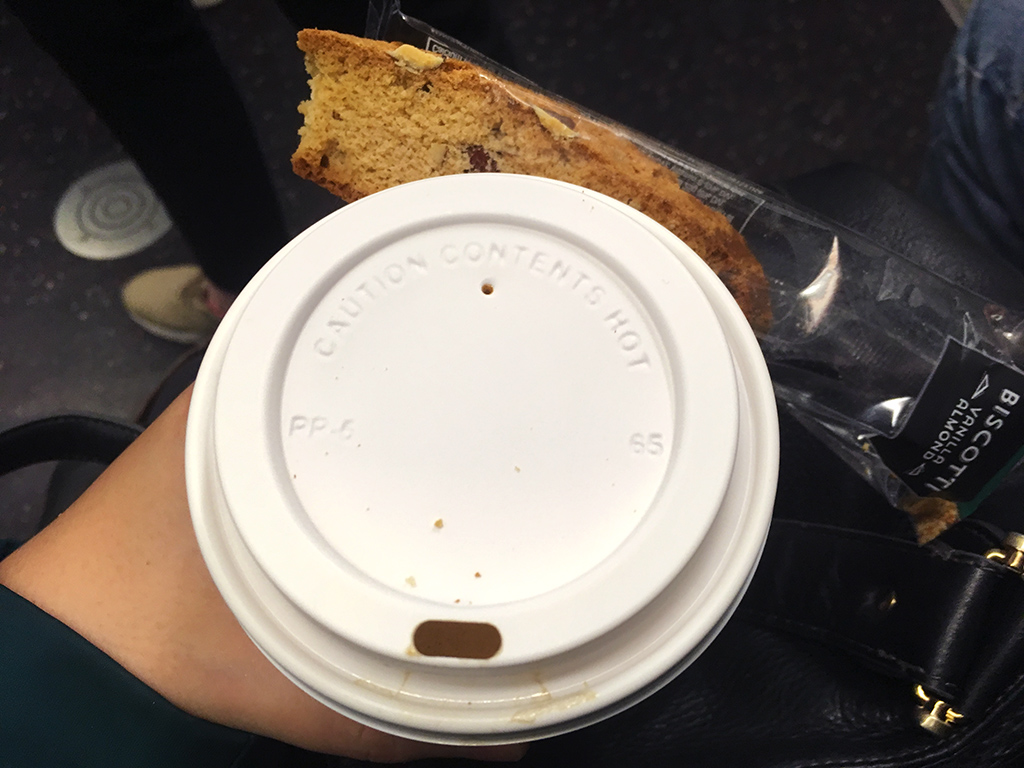
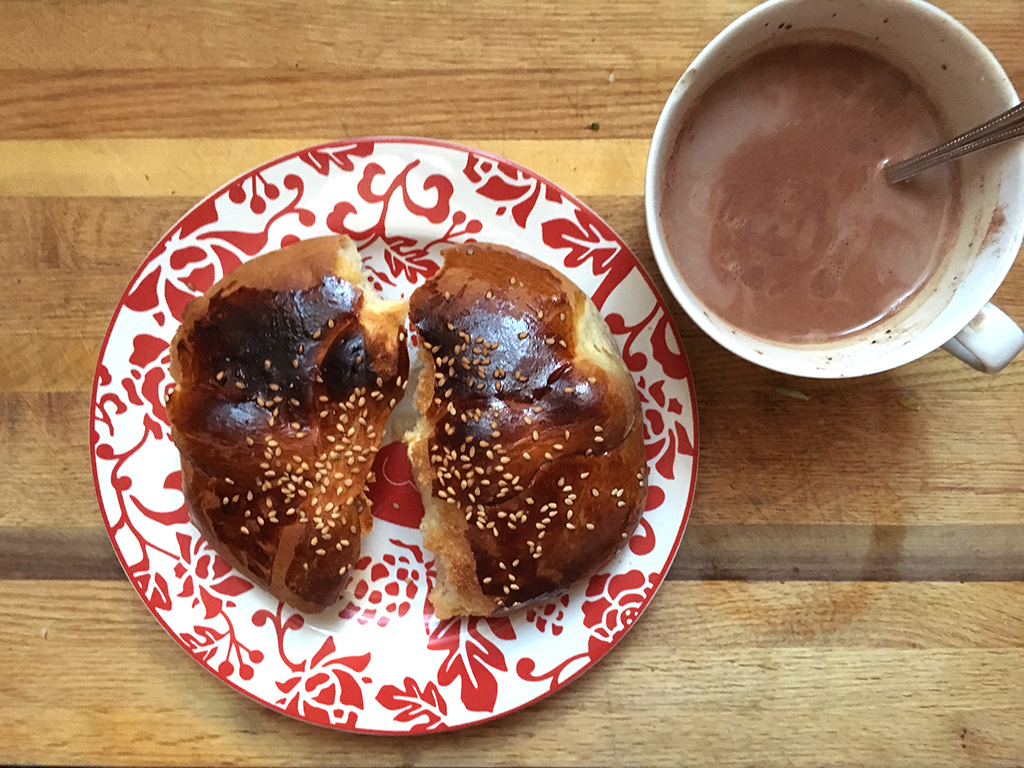
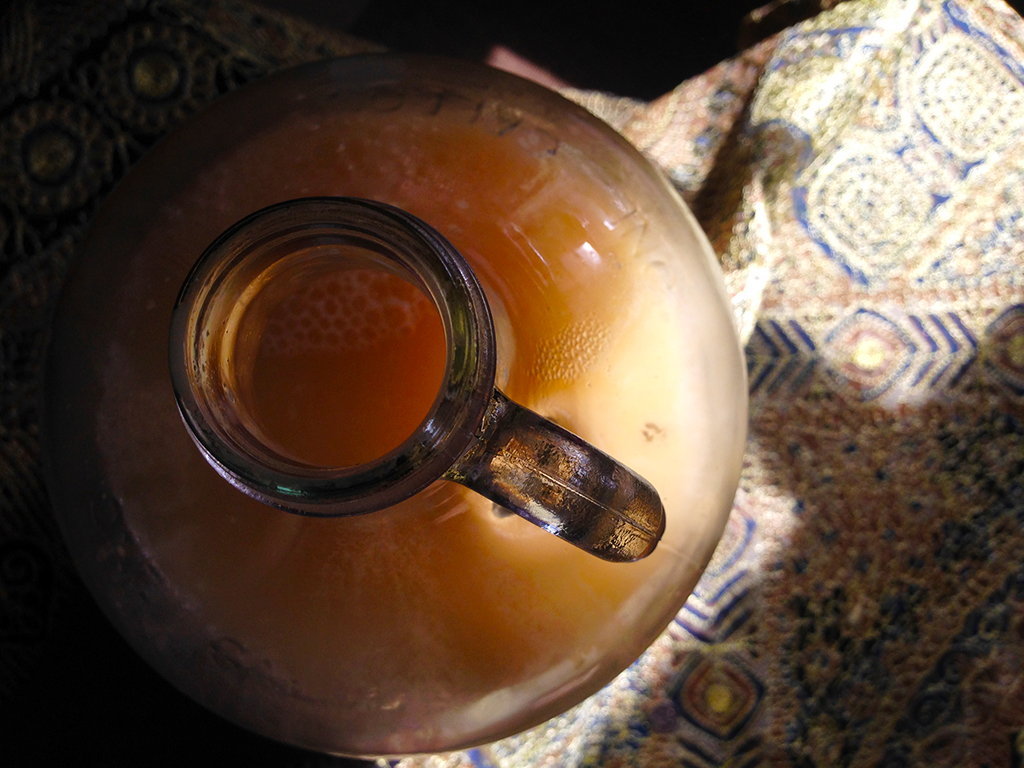
 My sad ass ate my sad-ass breakfast.
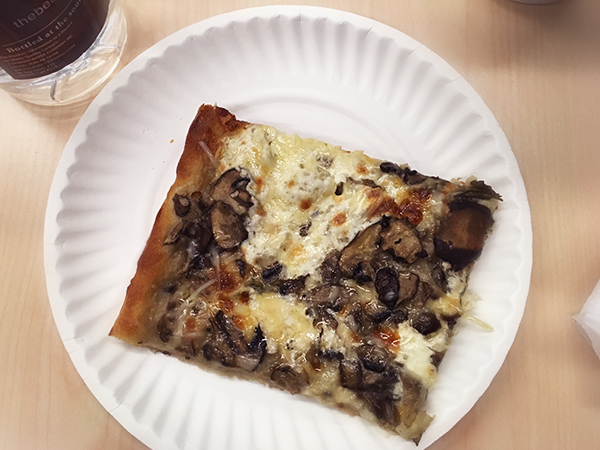
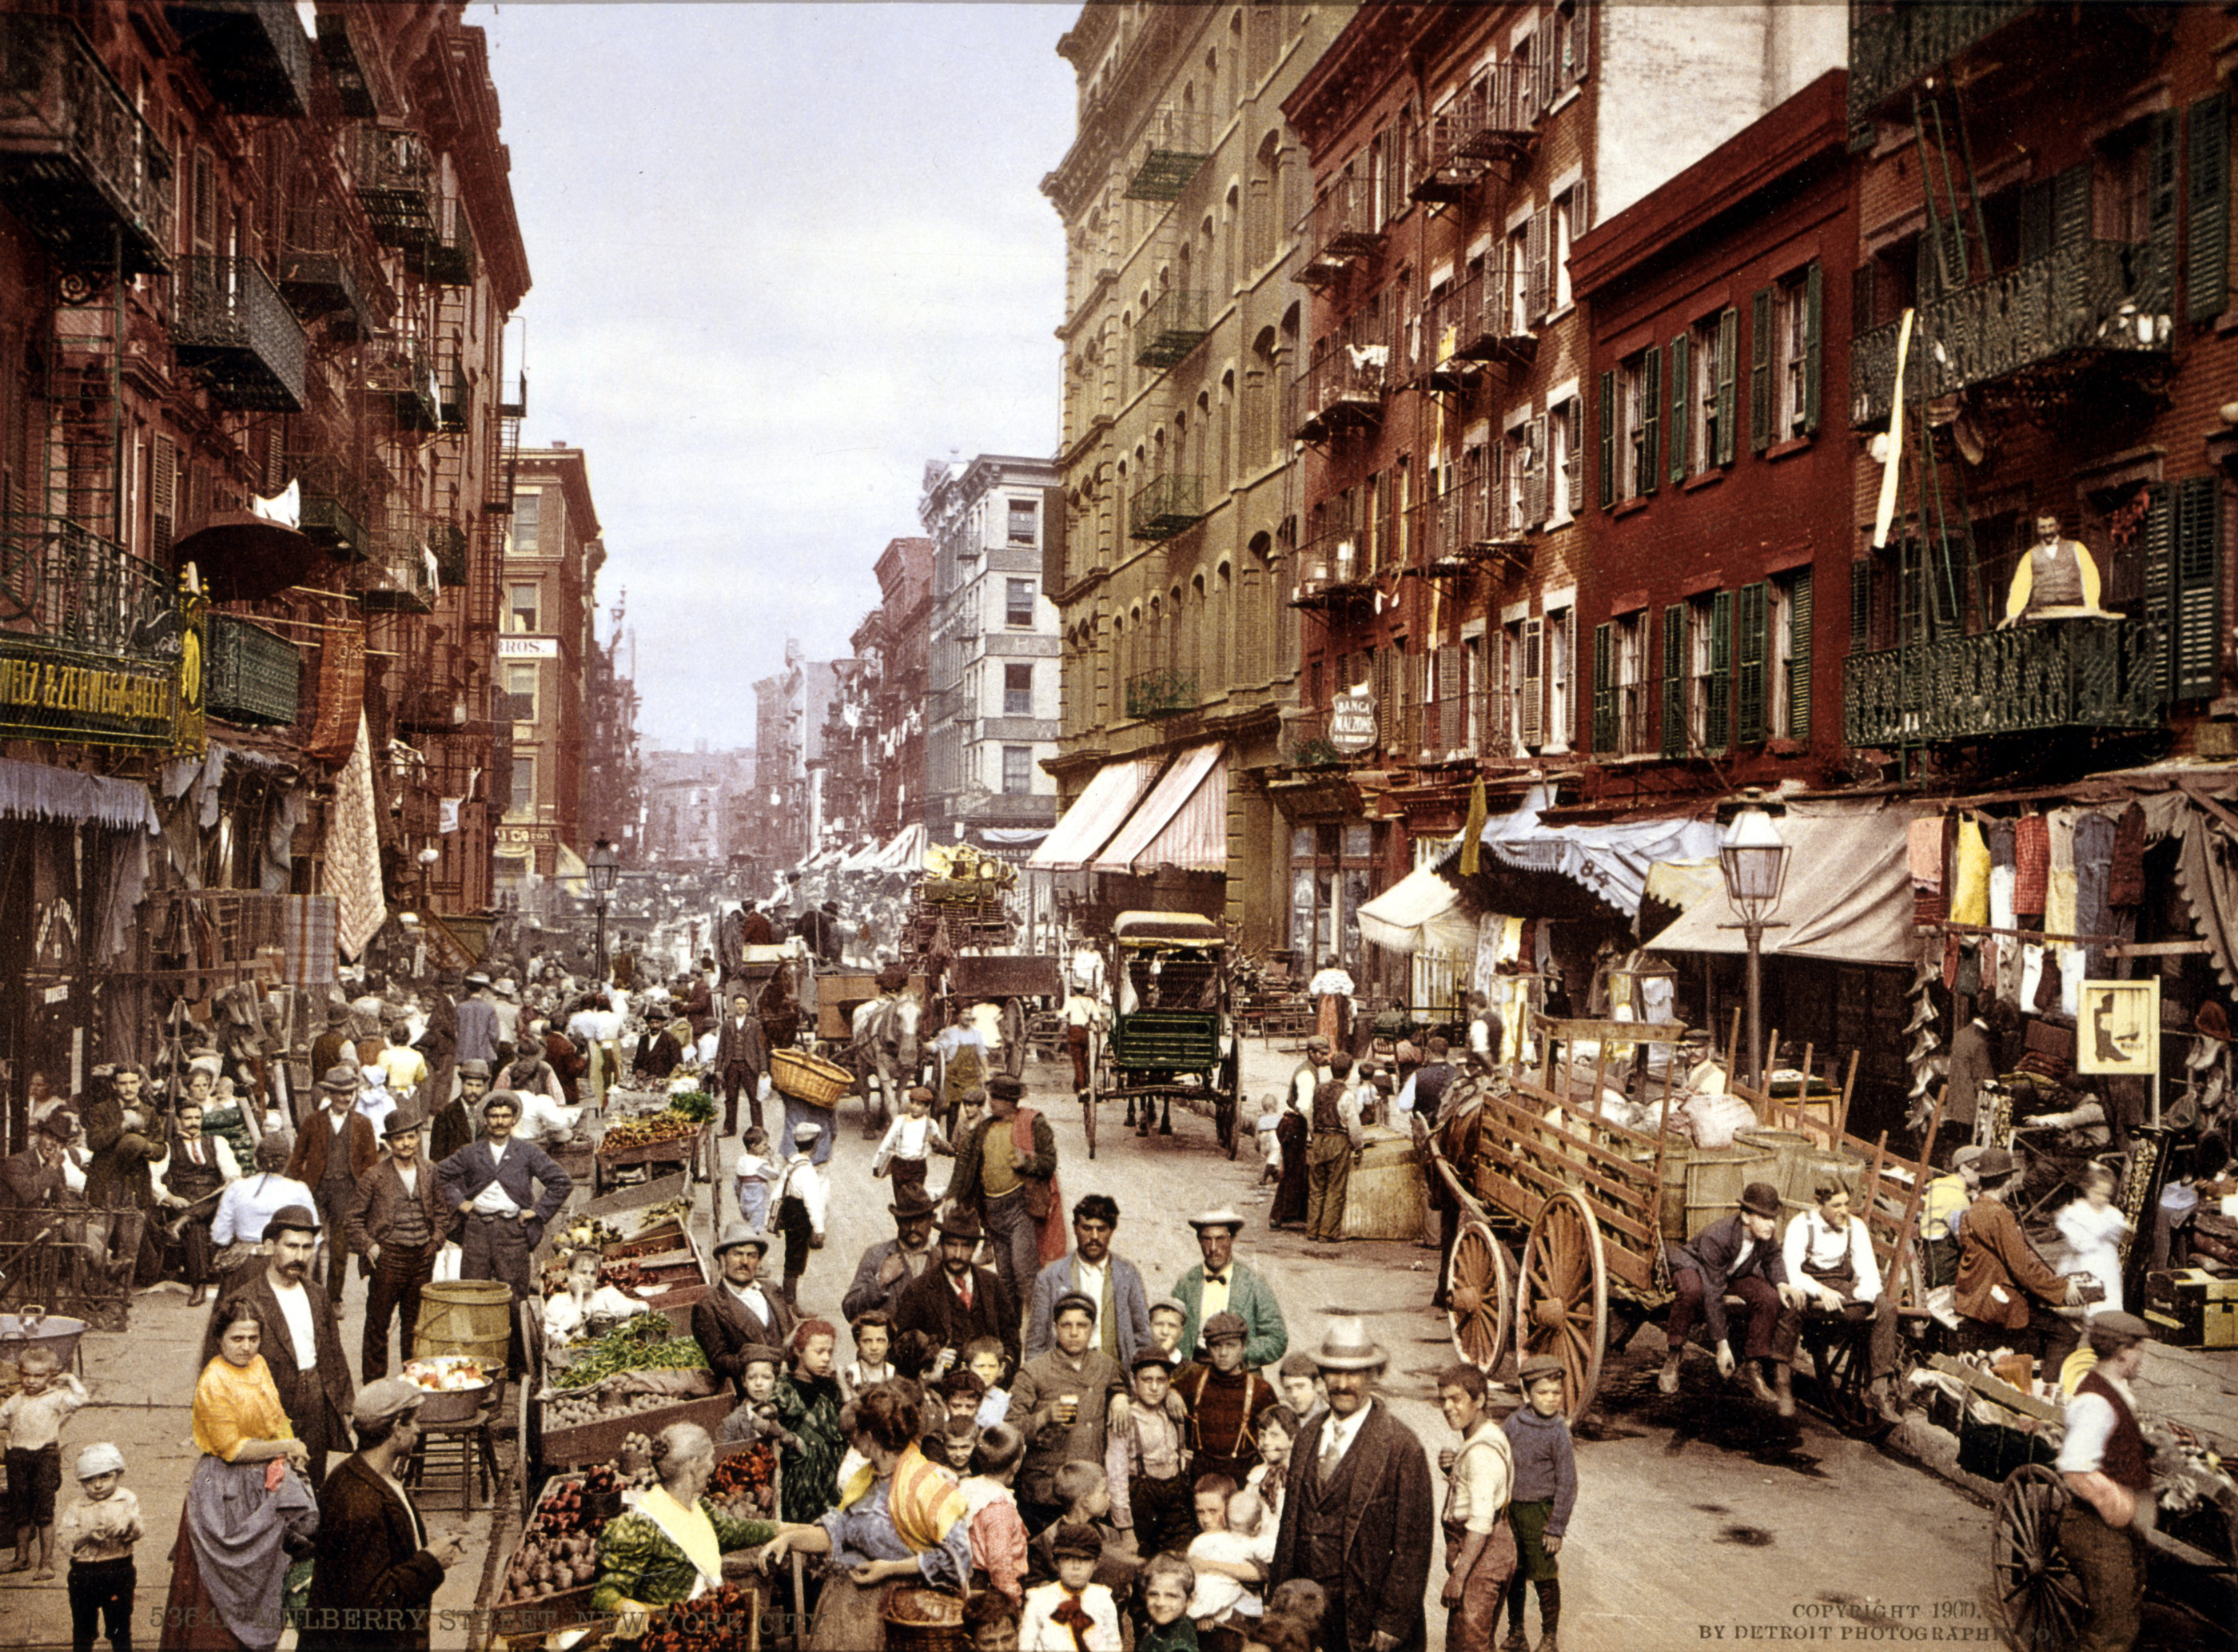 Mulberry Street, c 1900, the center of Manhattan’s Little Italy. This photo was taken very close to where I live, which is part of my motivation for wanting to learn more about the lives and daily meals of Italian immigrants a century ago.
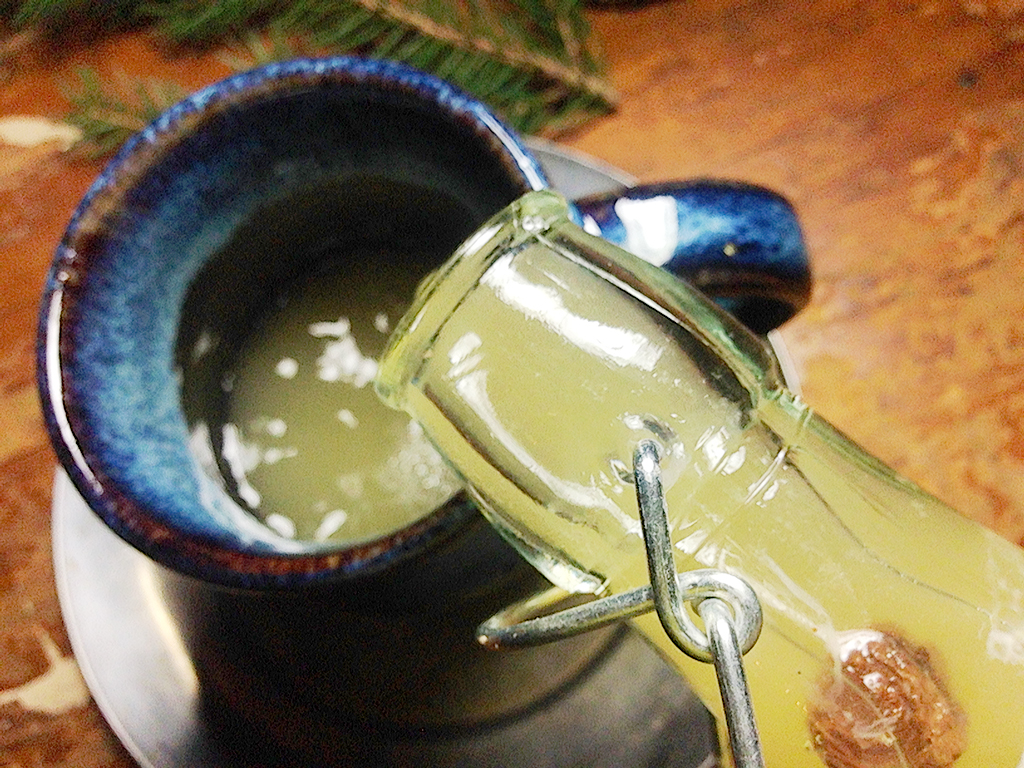
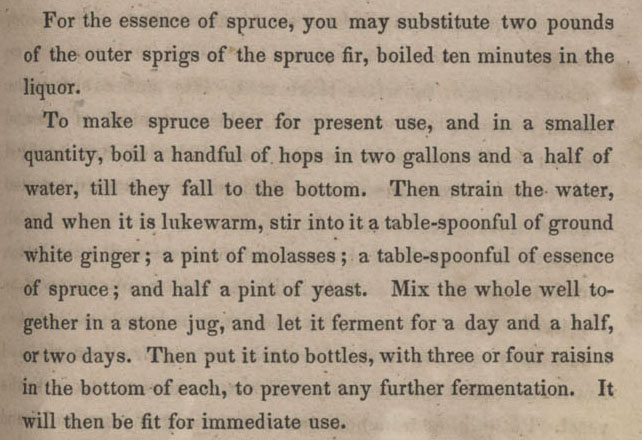
 Spruce limbs.
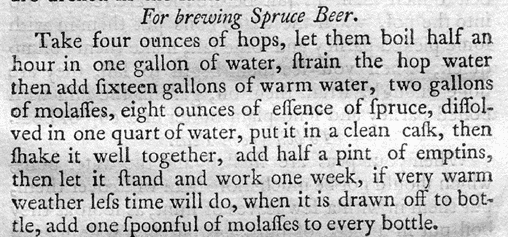

